Introduction:
HikeBranding has found a way to streamline your email marketing process with a seamless integration between Gravity Forms and Campaign Monitor via Zapier. This powerful automation enables you to instantly add subscribers to your Campaign Monitor mailing list as soon as they submit their information through a Gravity Form. No need for manual data entry and it ensure that your campaign emails reach the right people without any delays. In this guide, our developers at HikeBranding will show you how to set up this integration, allowing you to focus on crafting compelling campaigns while the automation takes care of subscriber management.
Data Capture with Gravity Form:
Utilize Gravity Forms to effortlessly collect user information, feedback or inquiries on your website through customizable forms.
Campaign Monitor Integration:
Integrate with Campaign Monitor to effortlessly sync captured data from Gravity Forms, enabling targeted email marketing campaigns and personalized communications.
Real Time Updates:
Benefits of real-time data synchronization between Gravity Forms, Zapier and Campaign Monitor, ensuring that your email lists are always up-to-date and accurate.
Time-saving Automation:
Reduce manual tasks and increase productivity by automating repetitive processes.
Platforms:
We will use Gravity Forms, Zapier, and Campaign Monitor for this automation.
In this workflow, when a Gravity Form is submitted, Zapier triggers to retrieve all the details. These details are then passed into Campaign Monitor for sending emails.
Steps:
1. Gravity Form Setup:
- Login to Gravity Forms account.
- Create a form.
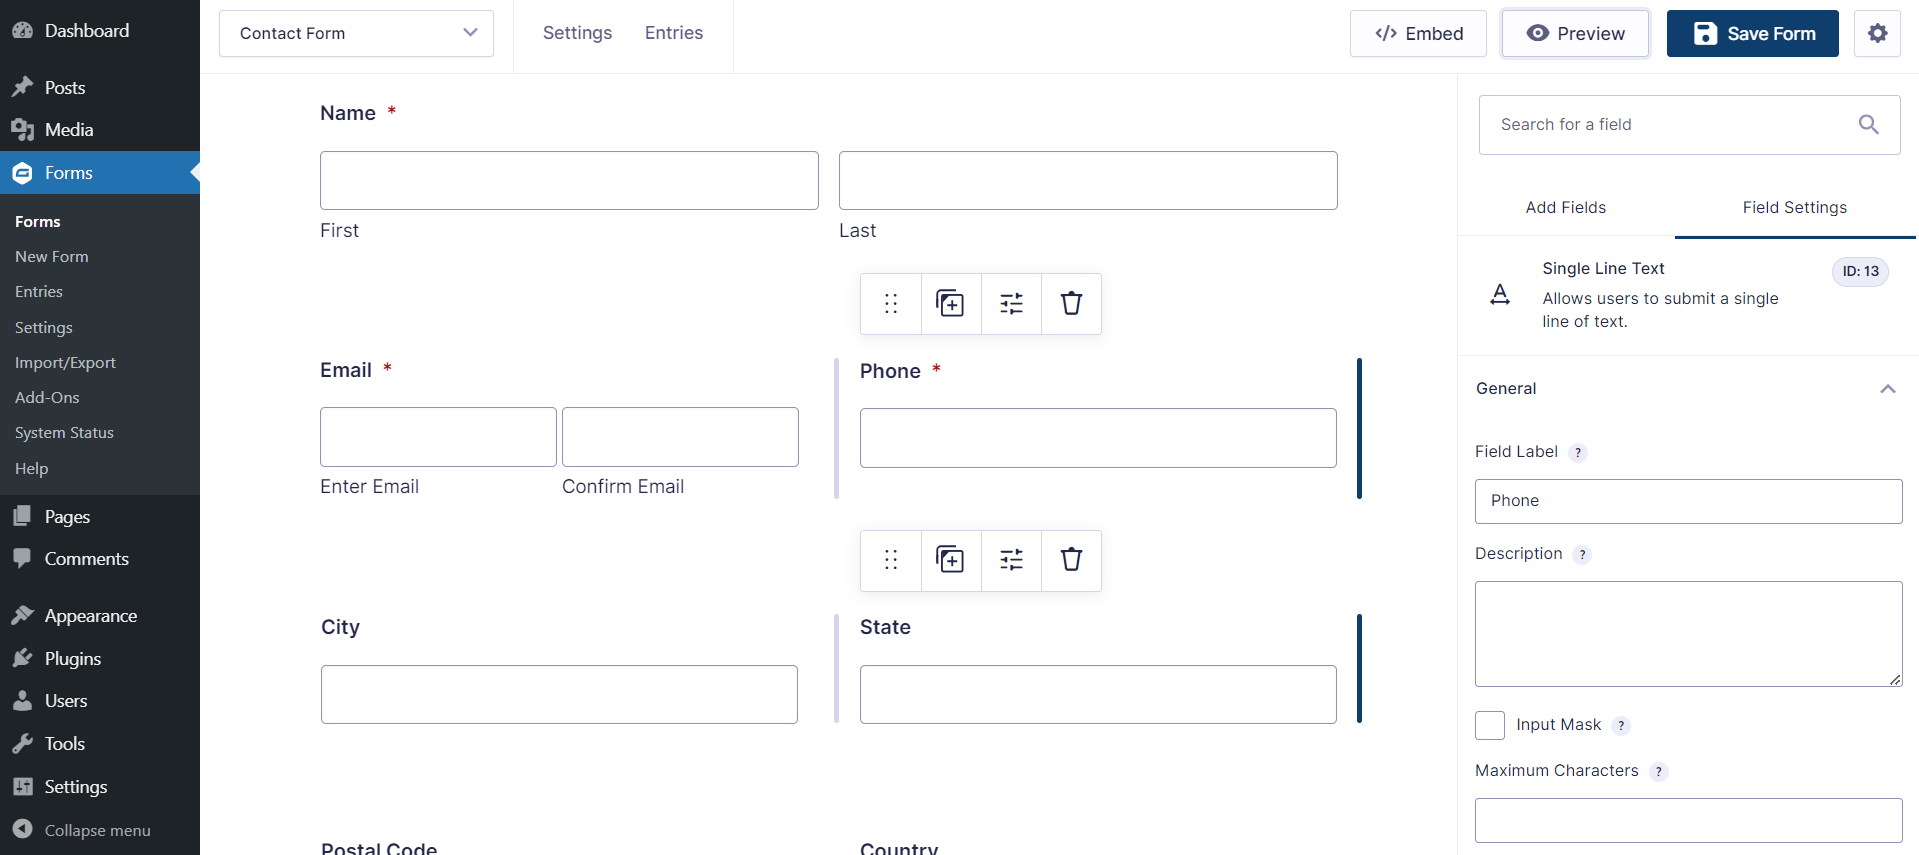
- Add or edit fields as per your requirements.
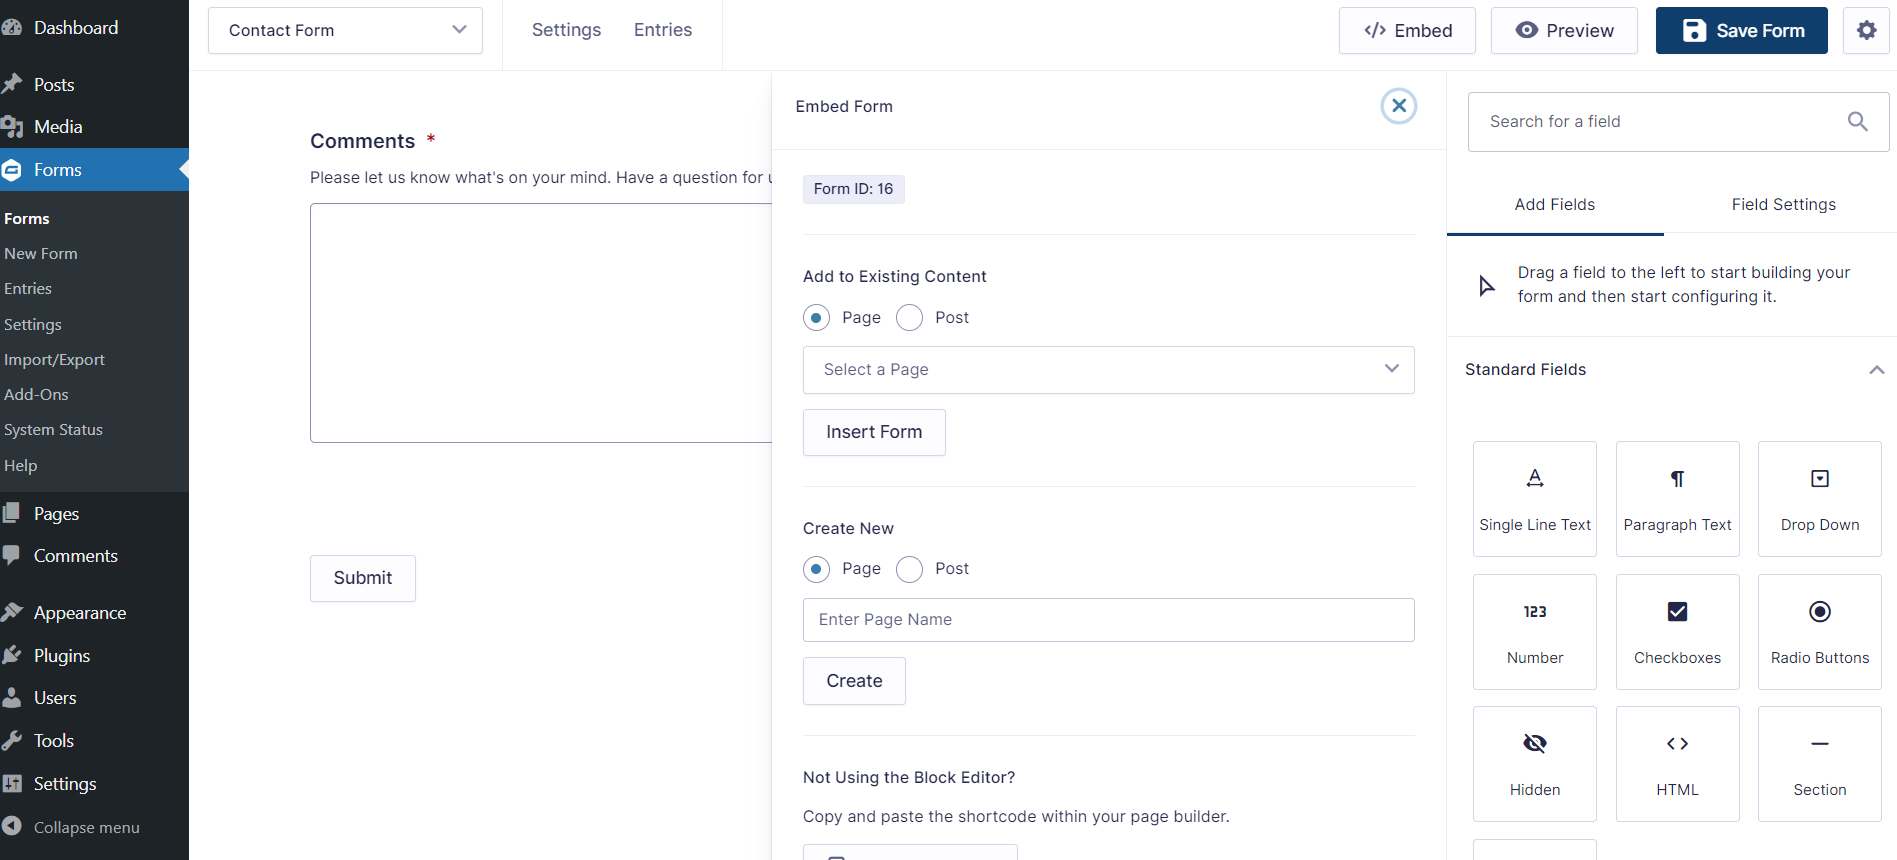
- Set Embed Forms: If you want to create new page then select Create page.
- Save the form.
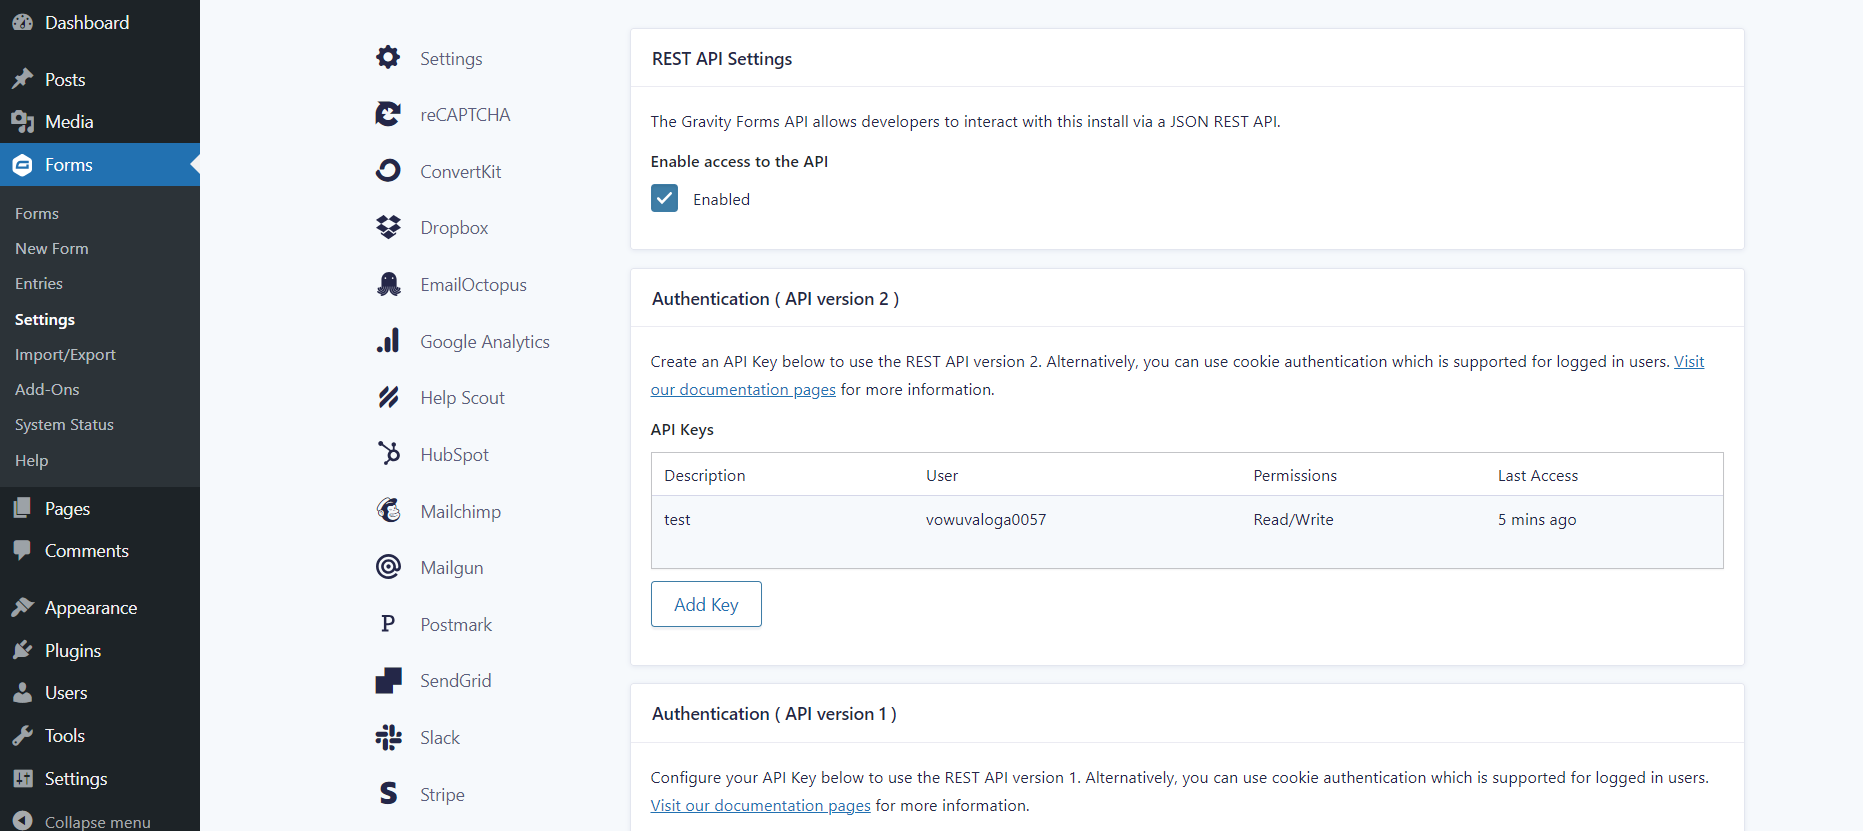
- Go to the Forms option and select settings to generate API KEY
2. Campaign Monitor Setup:
- Login to Campaign Monitor Account
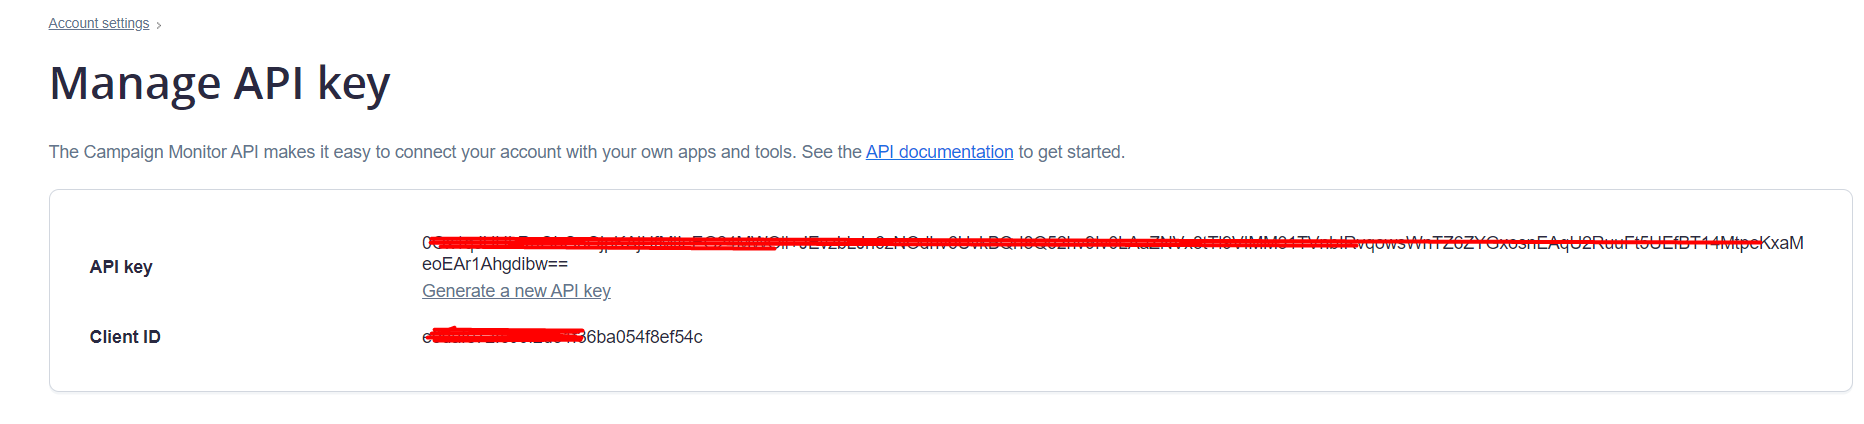
- Go to the Account settings option to generate API KEY.

- Copy key, it will be use in Zapier for setup Zap.
- Go to the Automation Option
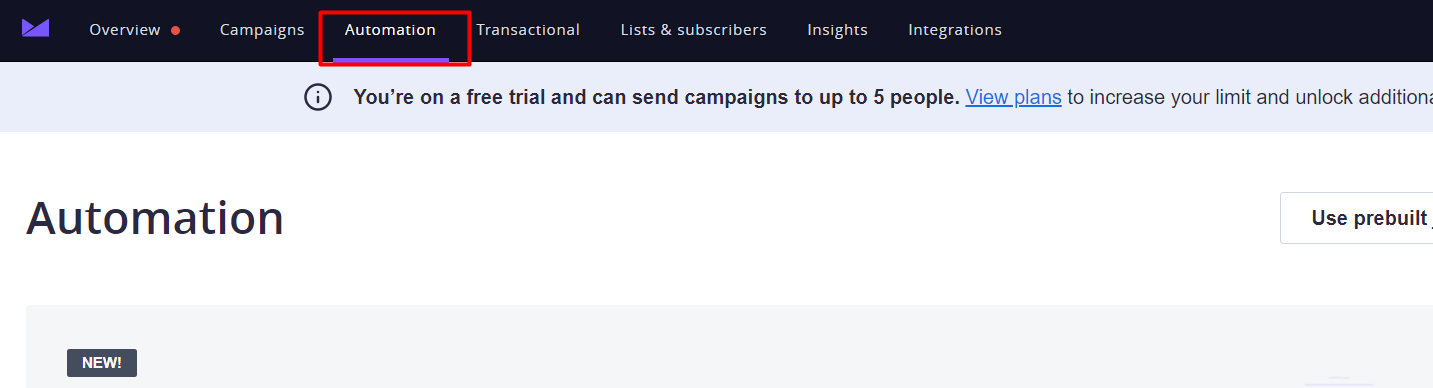
- Select an automation option. If you choose the welcome journey, you will receive a prebuilt automation. If you opt for the custom journey, you can build your own automation.
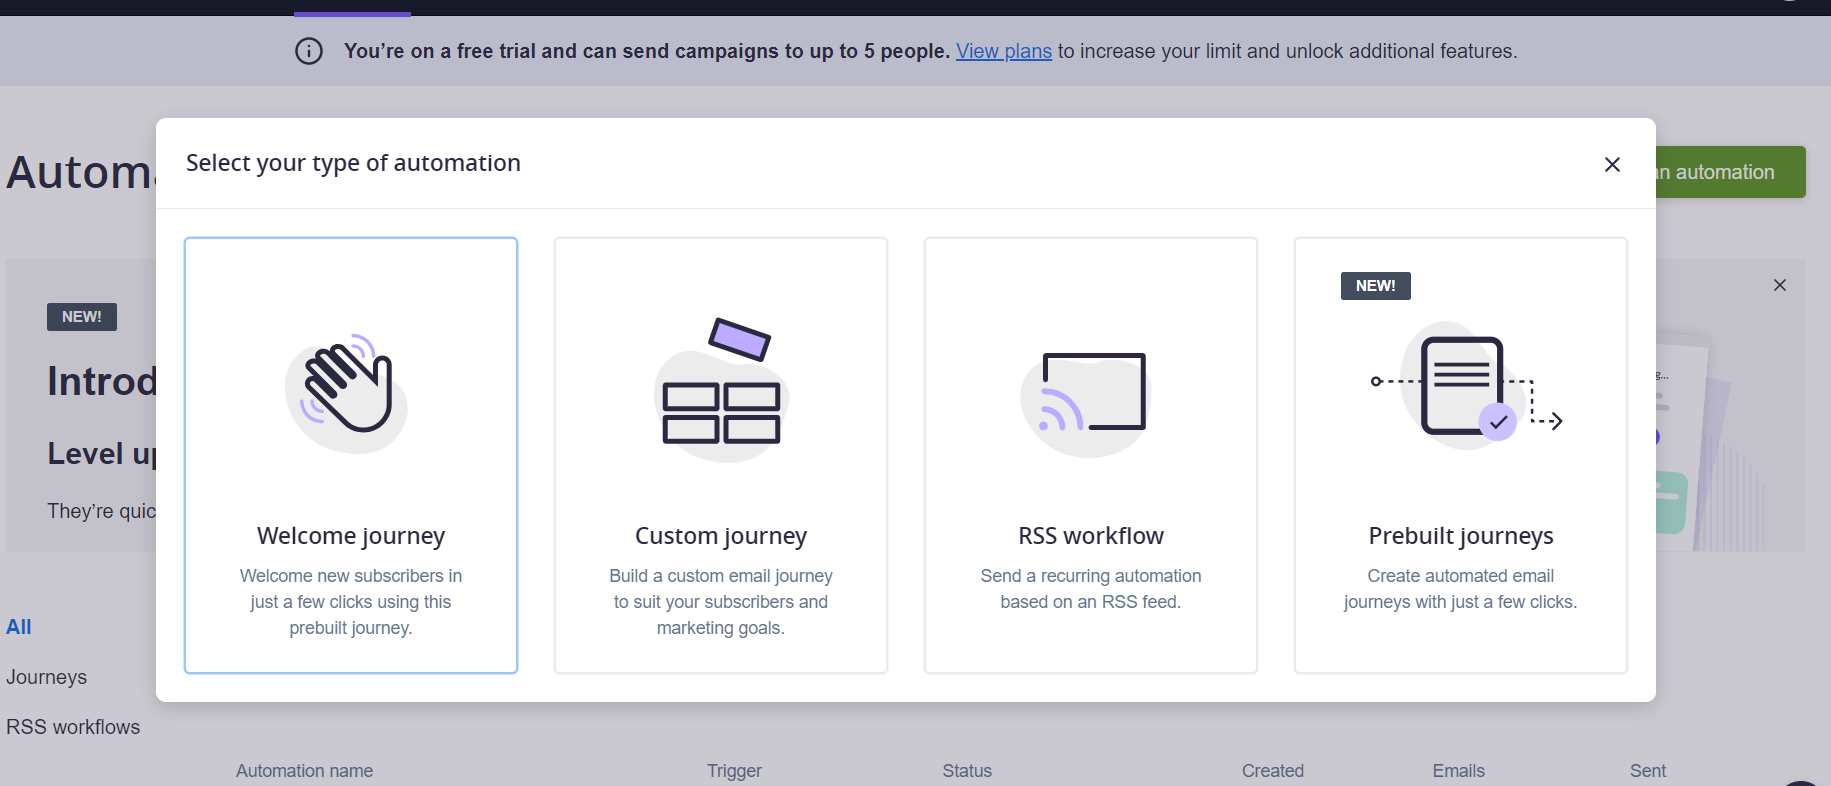
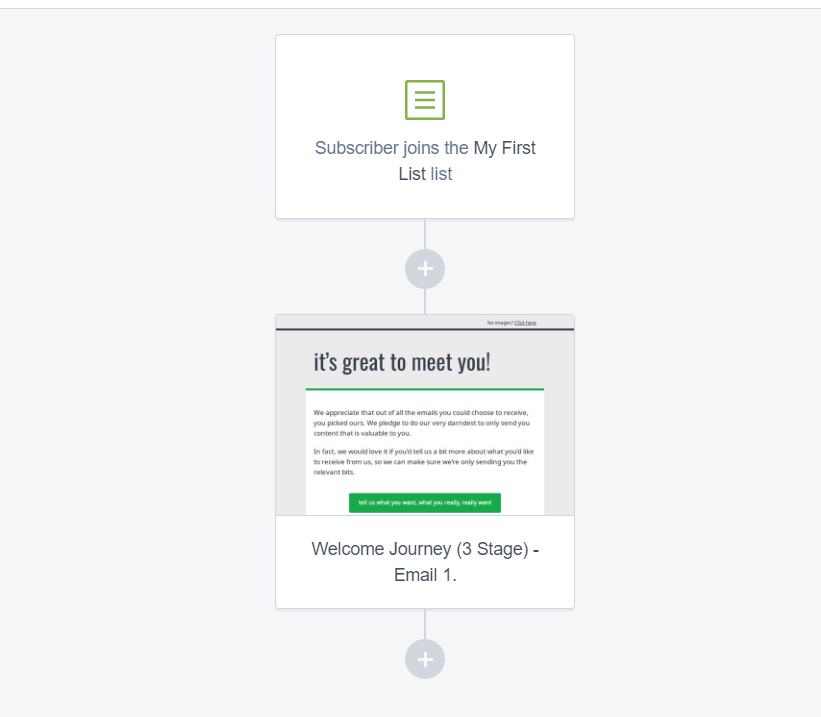
- View of Automation.
3. Zapier Setup:
- Login to Zapier Account.
- Click on the Create Button to create a new Zap.
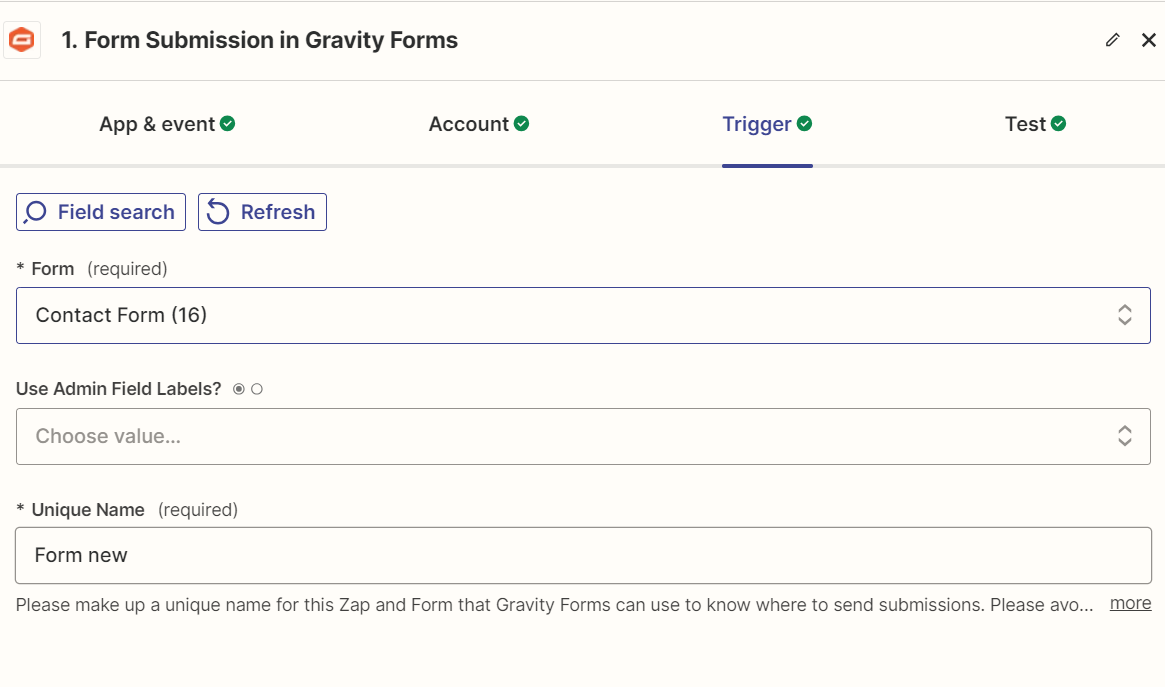
- Select Gravity Forms as a trigger app and form submission as an event.
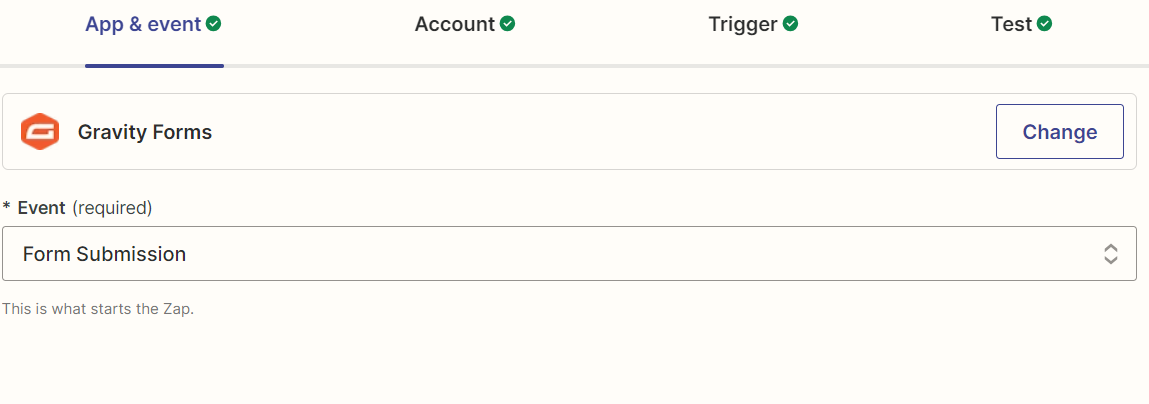
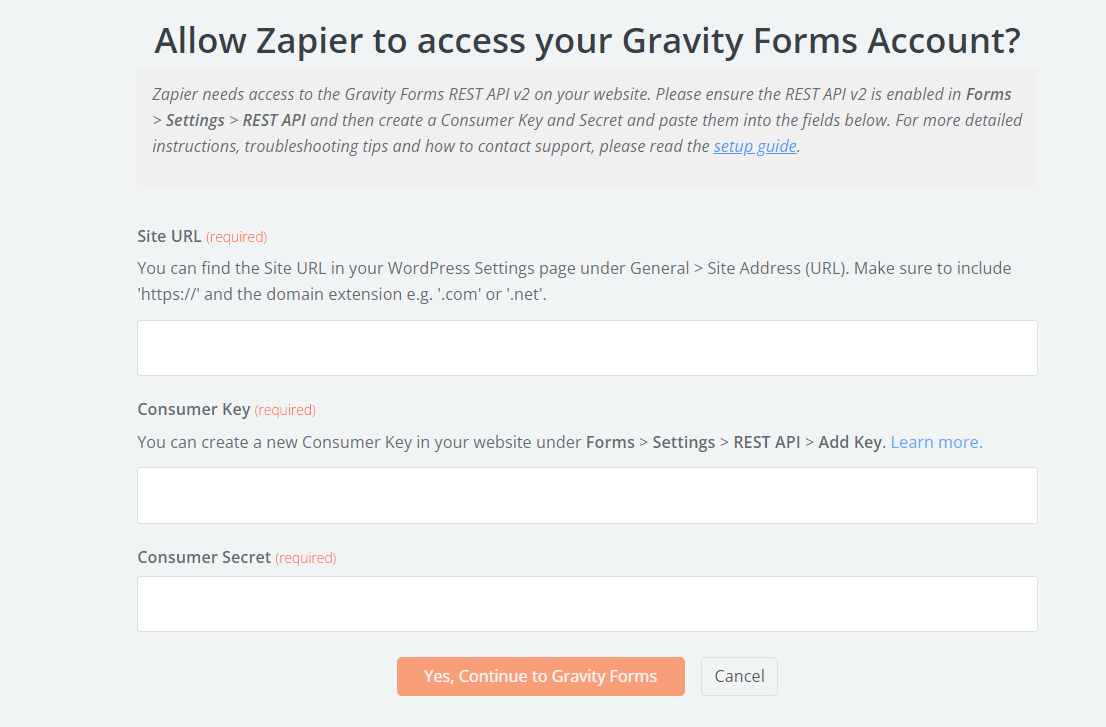
- Fill all the details to connect your gravity account with Zapier.
- Select Form that you want to use in Zapier.
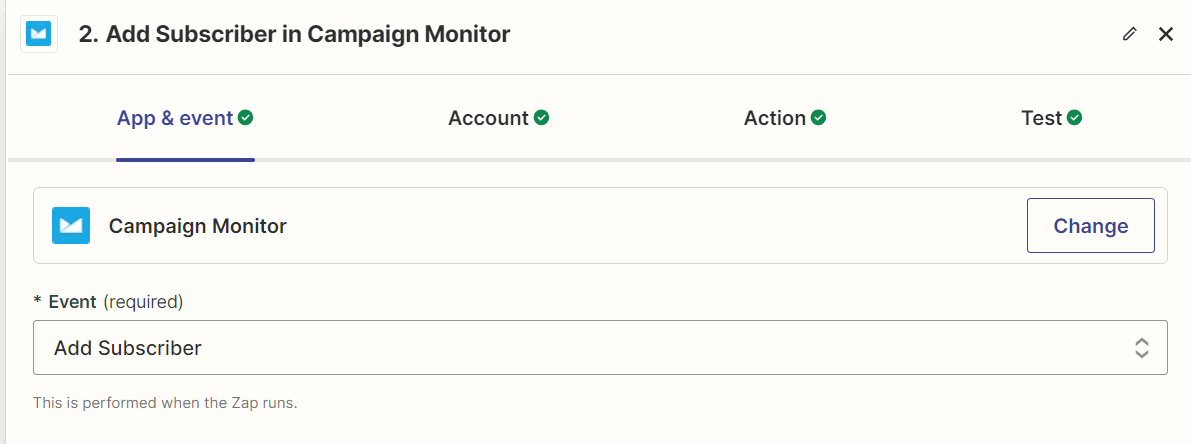
- Add Campaign Monitor as an action app and add subscriber as an event.
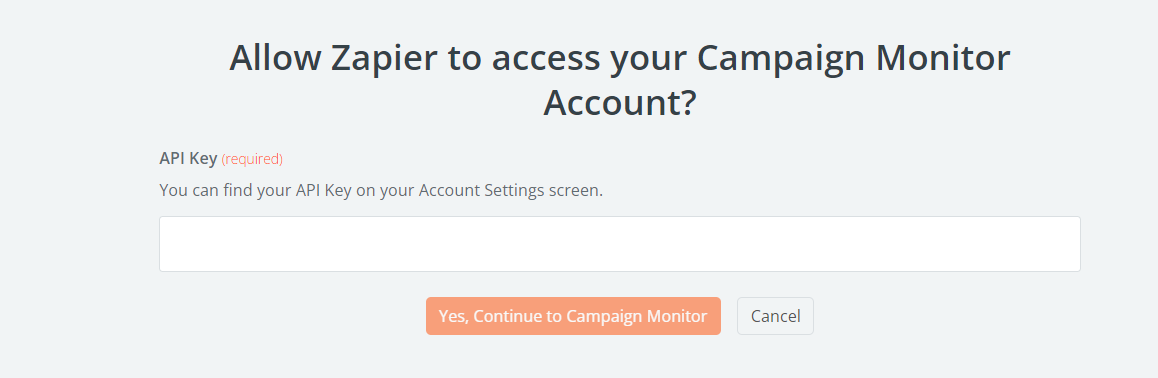
- Add an API Key that was copied during the Campaign Monitor setup.
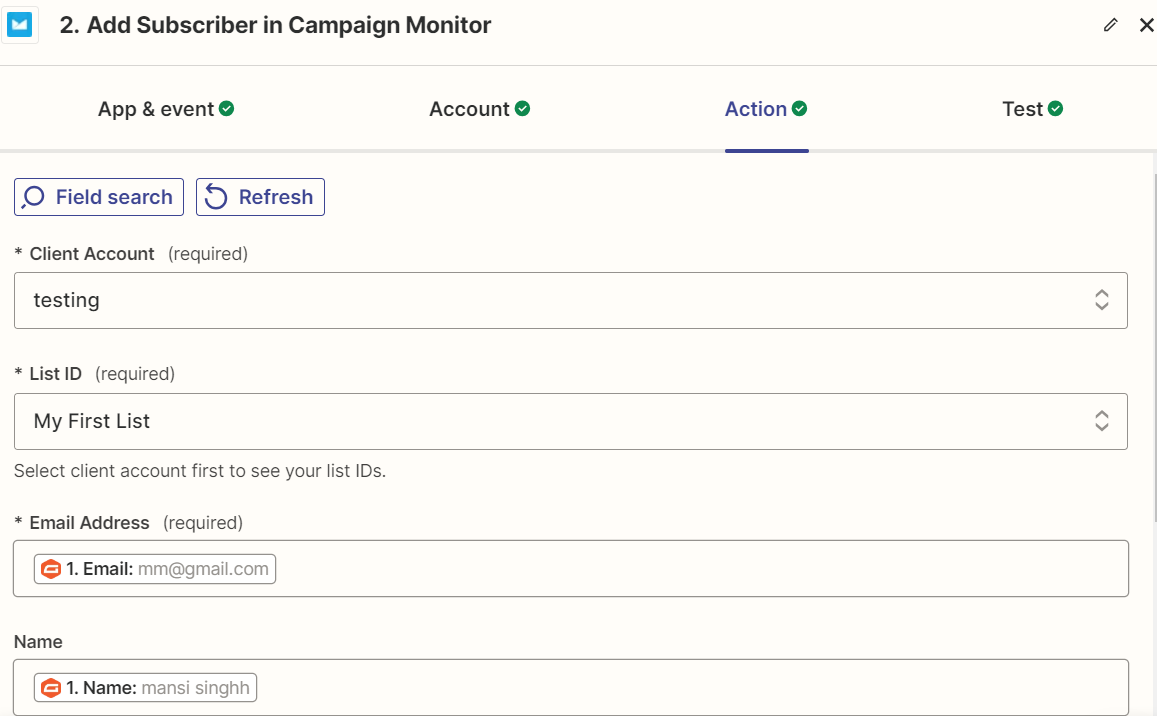
- Select List and mapped Gravity form data with Campaign Monitor fields.
- Click on Publish Zap.
4. Results:
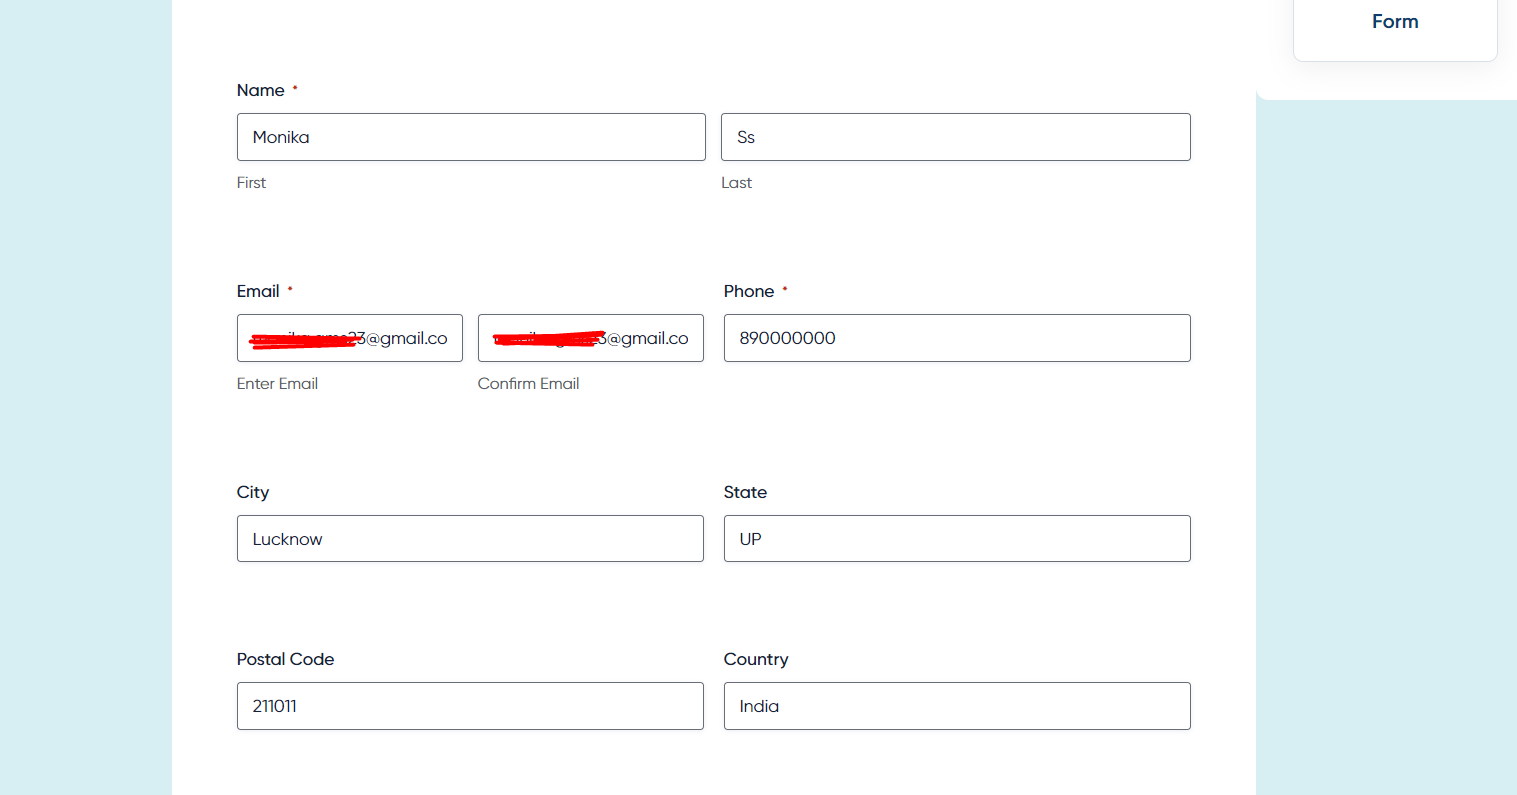
- Fill Gravity Form
- You will receive an email.

- View of Detailed Email.

Conclusion:
Following this guide will streamline your email marketing workflow, ensuring that every new subscriber is promptly added to your Campaign Monitor list without any manual effort. This integration not only saves you time but also enhances the accuracy and efficiency of your email campaigns. Embrace the power of automation and focus on creating impactful content, knowing that your subscriber management is seamlessly handled by Gravity Forms, Zapier and Campaign Monitor.