Introduction:
HikeBranding Developers will walk you through an advanced integration process that connects JotForm submissions with Zapier, ultimately creating records in Zapier Tables and seamlessly adding customers to Printavo. By leveraging the power of these tools, businesses can reduce manual data entry, minimize errors and ensure that customer information is consistently up-to-date across platforms. Whether you are managing orders, client information or production details, this automated workflow will help you maintain a smooth and efficient operation.
Automated Data Flow:
Seamlessly transfer submission data from JotForm to Zapier without manual intervention, ensuring that information is consistently and accurately updated.
Error Reduction:
Minimize the risk of human errors associated with manual data entry, improving the reliability of your customer information and operational records.
Secure Data Handling:
Ensure that customer data is handled securely throughout the integration process, complying with data protection regulations and best practices.
Efficient Customer Management:
Automatically create and update customer records in Zapier table.
Real-time Updates:
Ensure that customer information are instantly reflected across all platforms, providing real-time visibility into your operations.
Platforms:
We will use Jotform, Zapier, and Printavo for this automation.
In this workflow, when a JotForm is submitted, Zapier receives the data and creates a record in a Zapier table, subsequently, it creates a customer in Printavo.
Steps:
1. Jotform Setup:
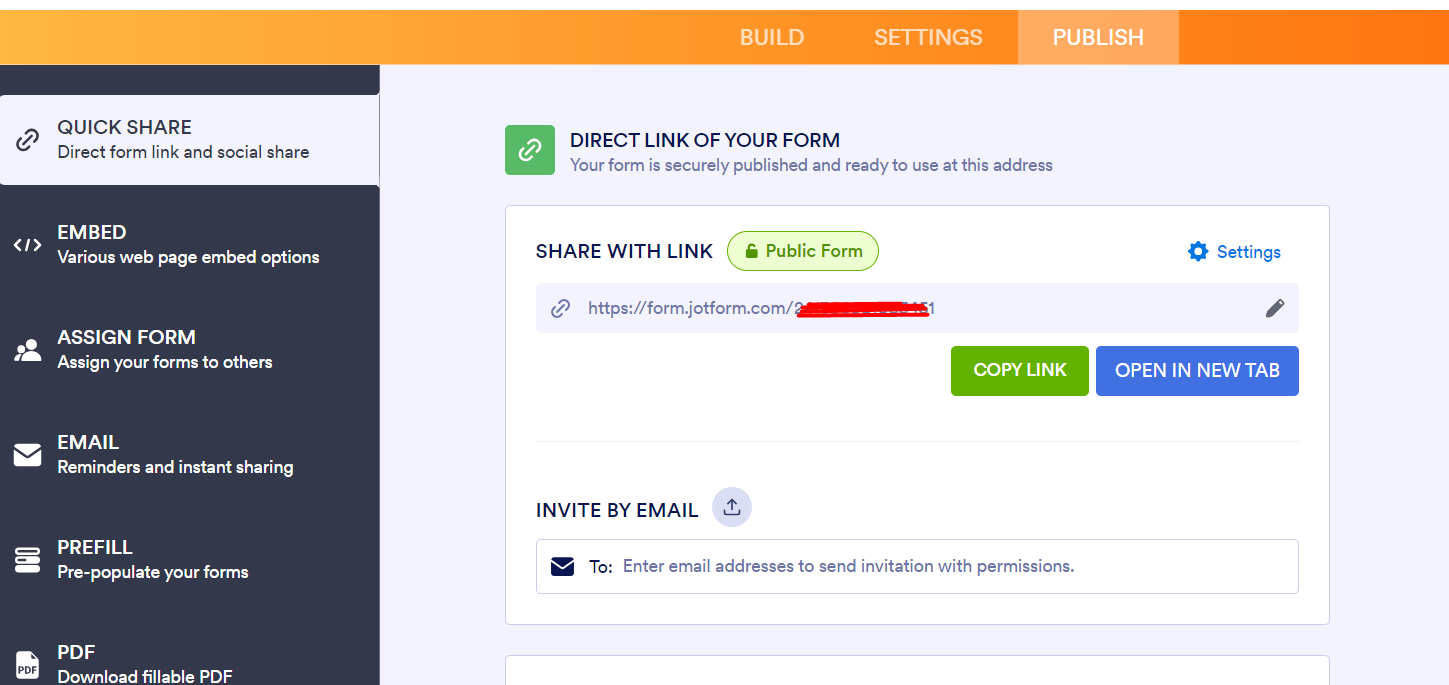
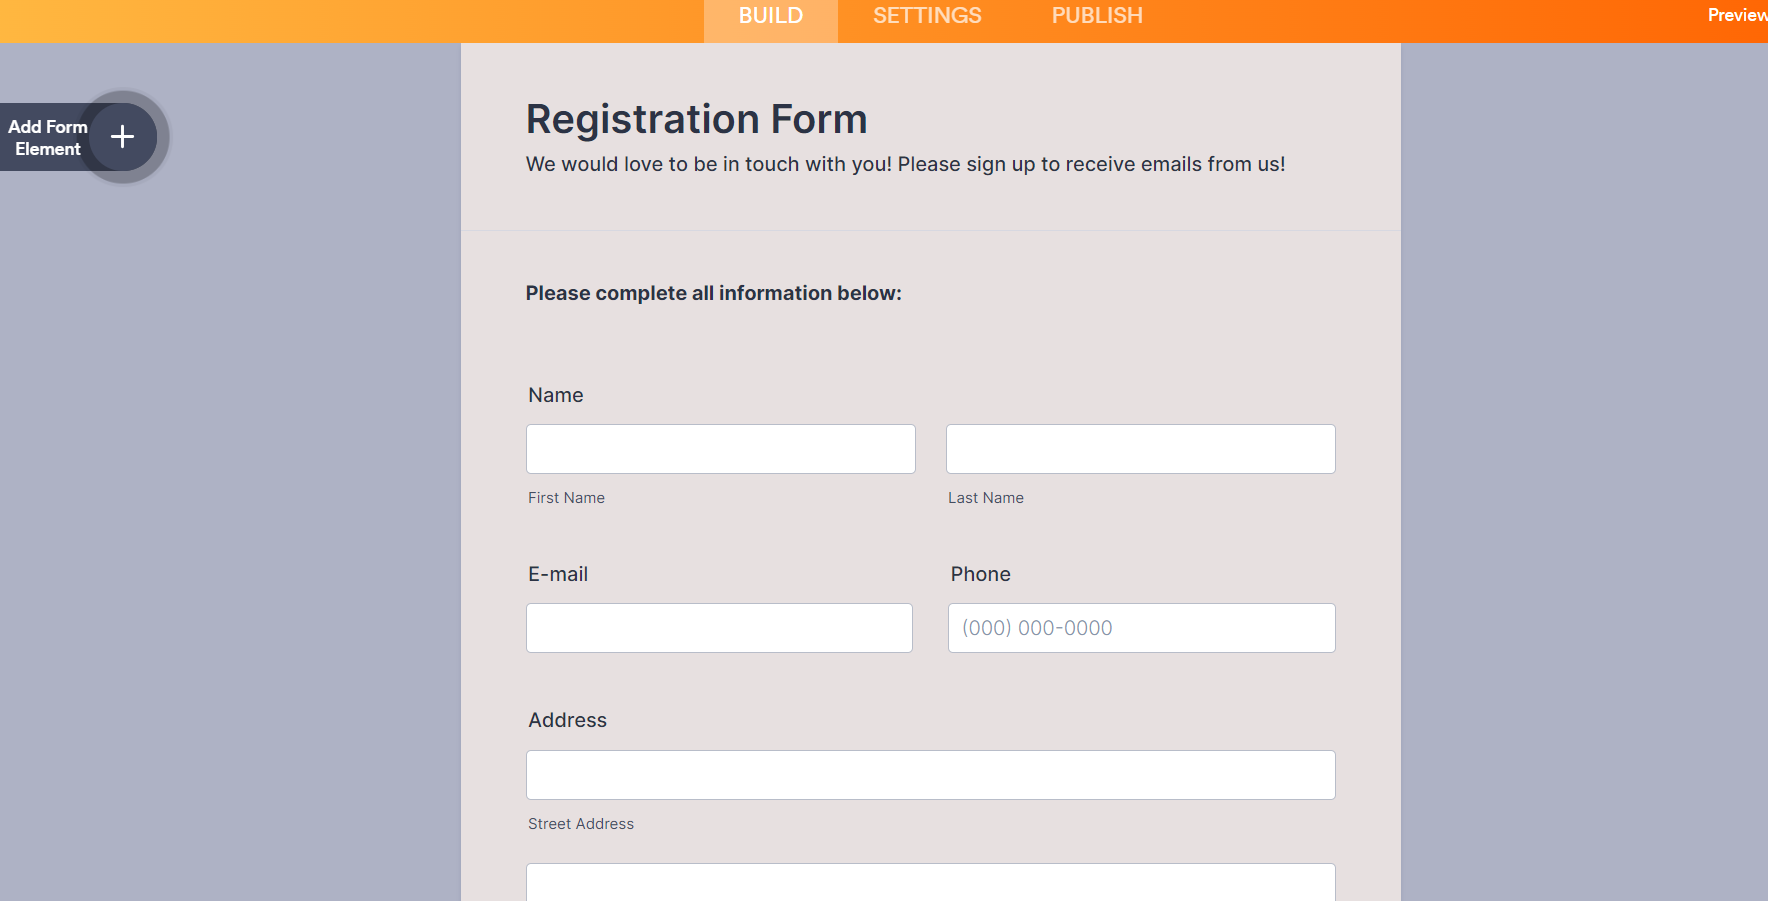
- Login to the Jotform account.
- Create a registration form.
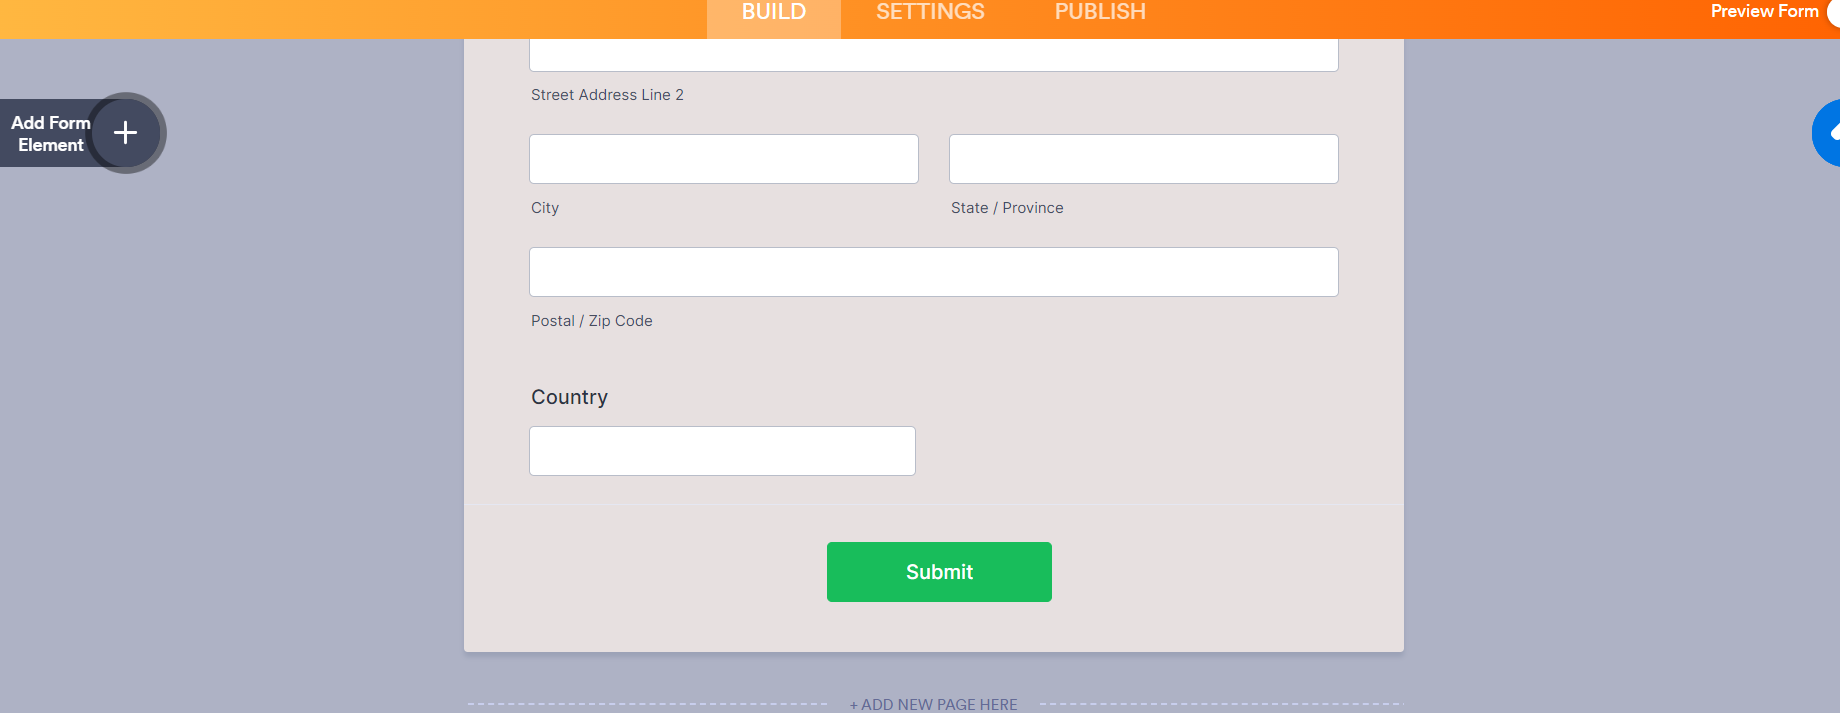
- Copied Link of the form.
2. Printavo Setup:
- Create an account in Printavo
- Login to Printavo Account.
- Go to the My Account Option.
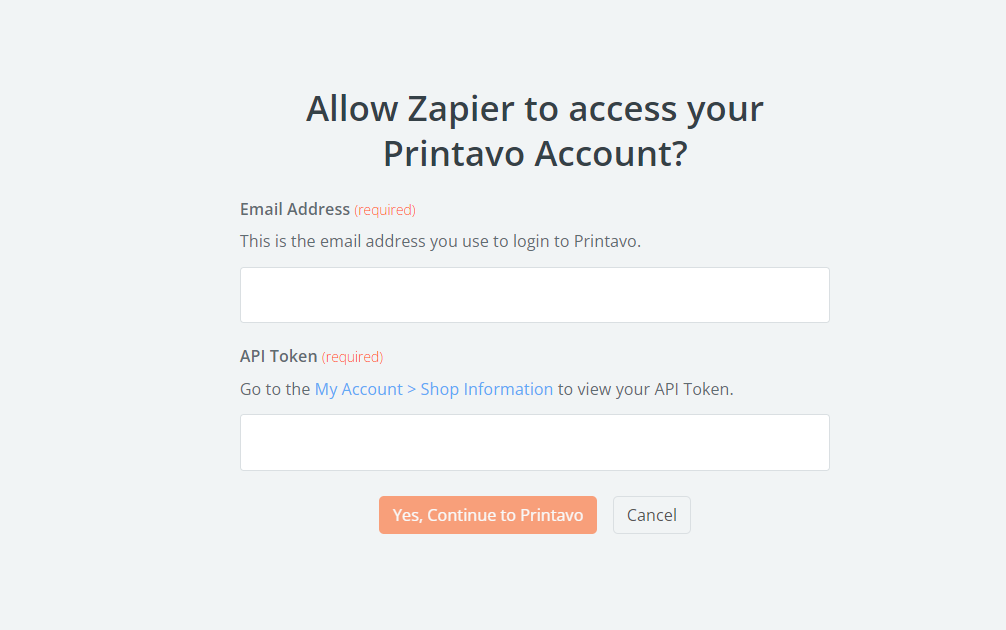
- Inside the Shop Information Option generate API Token.

- Copied API Token.
3. Zapier Setup:
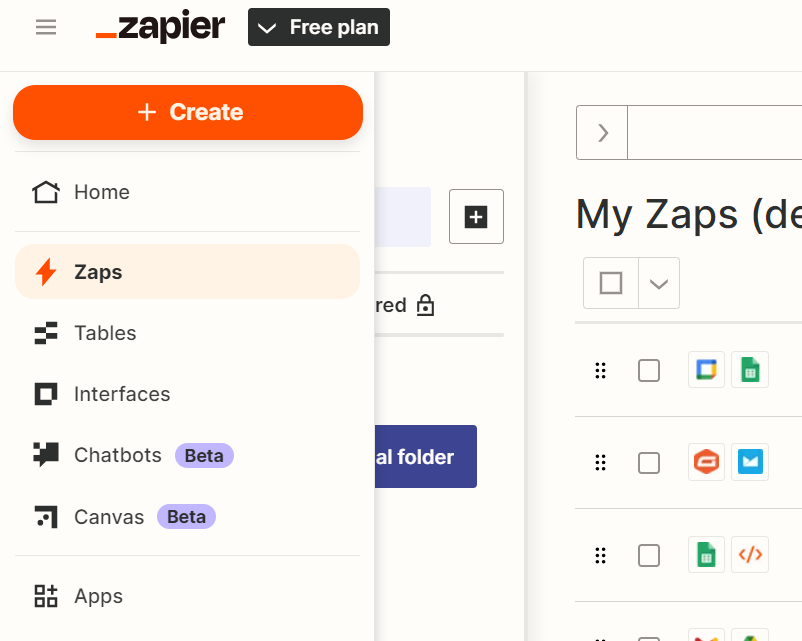
- Log in to Zapier Account.
- Create a table in Zapier using the Tables option.
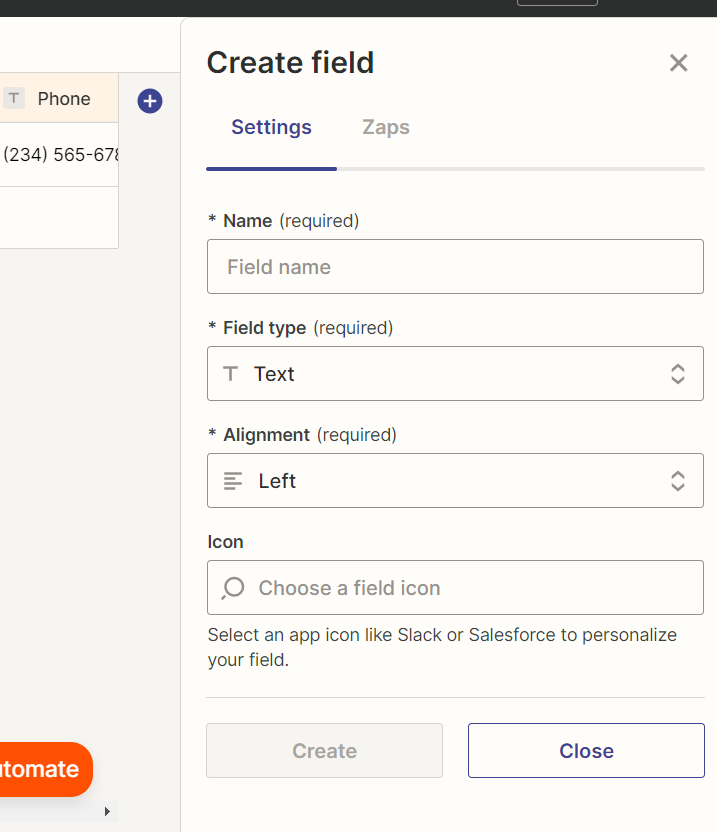
- Add field names from plus button.

- Once the table is created, then create a Zap named: Jotform to Printavo.
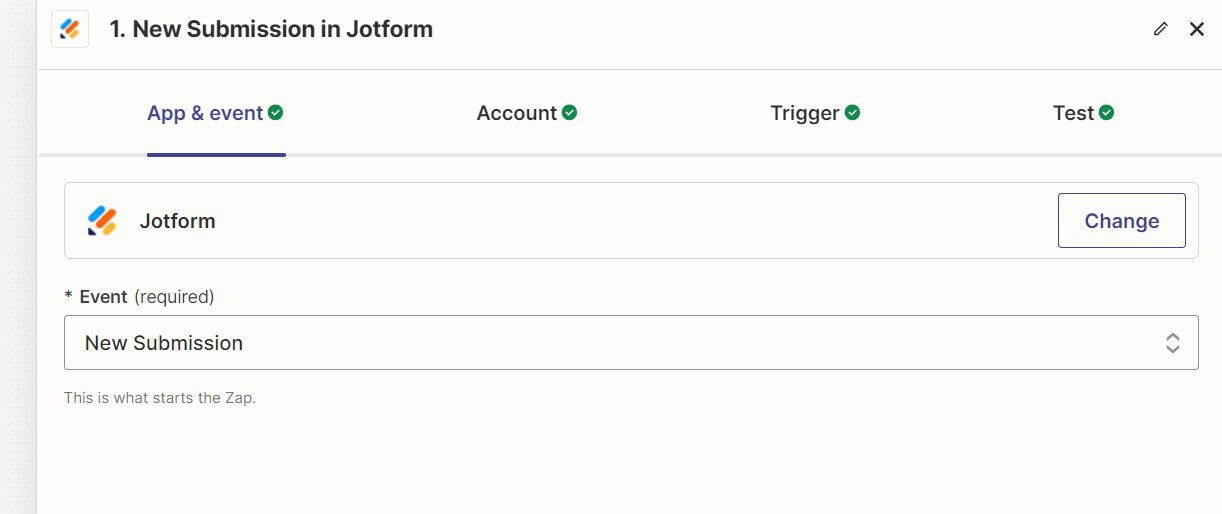
- Select Jotform as a trigger app and New Submission as an event.
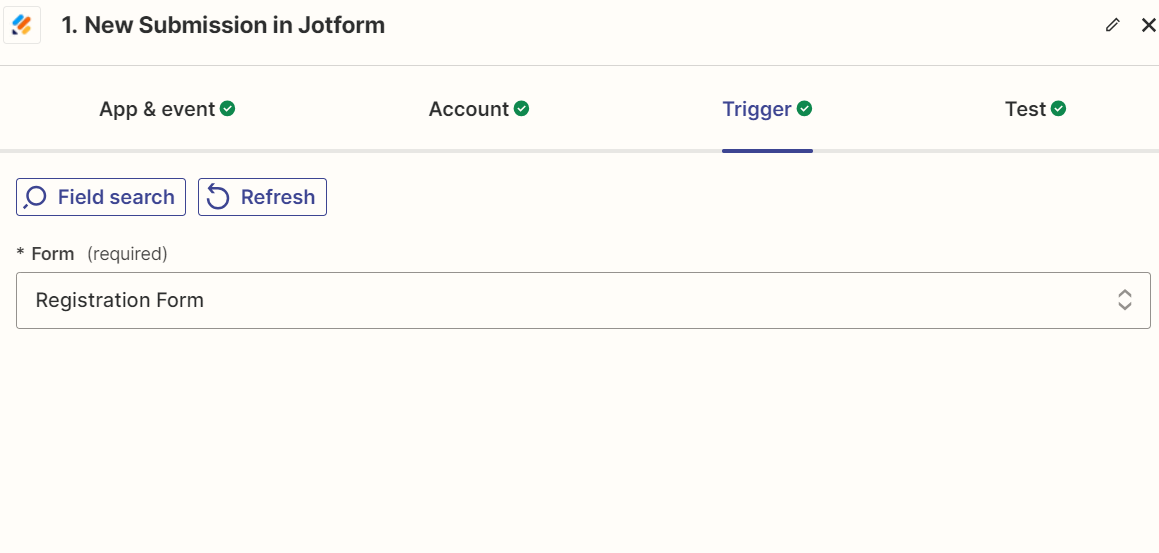
- Connect Jotform Account and select form name from list.
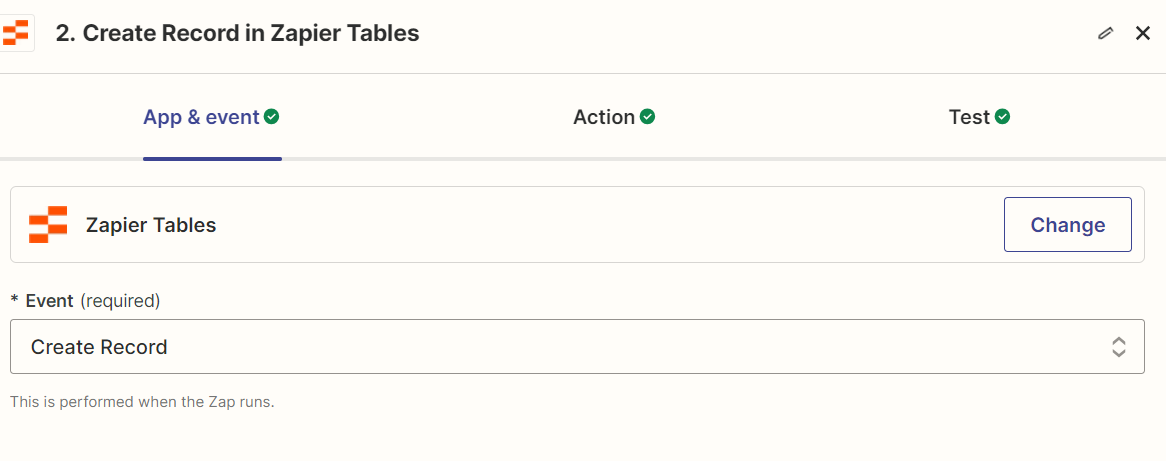
- Select Zapier Tables as an action app and create a record as an event.
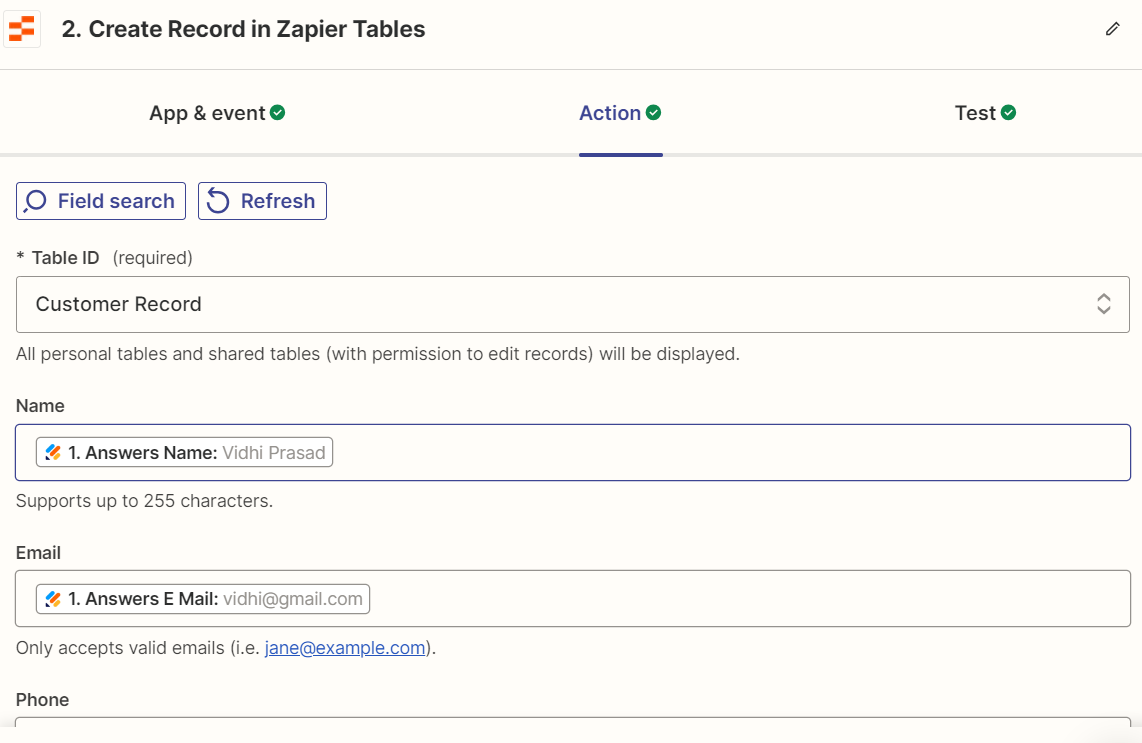
- Select Table name and map all Jotform fields with Zapier tables.
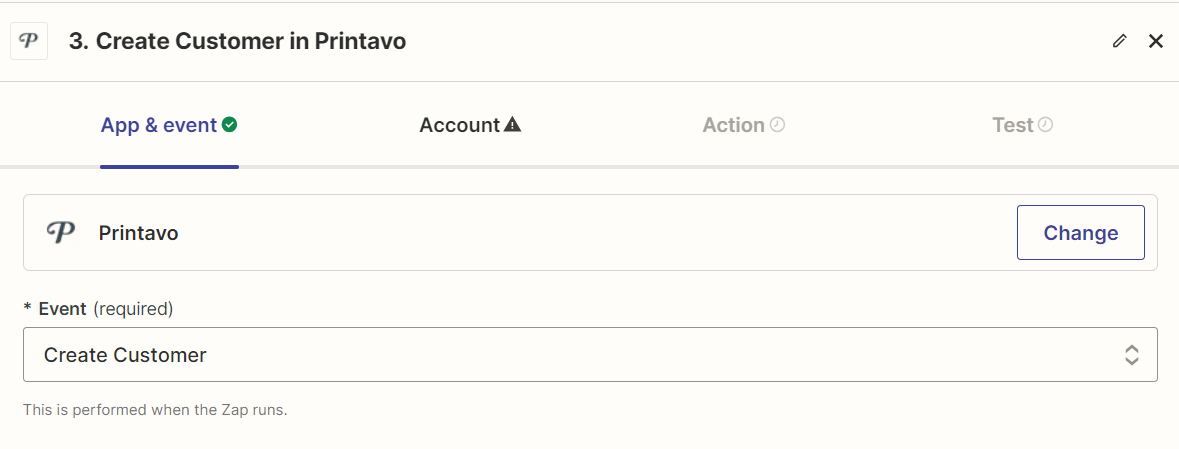
- Select Printavo as an action app and create a customer as an event.
- Fill in the details for connection.
- Mapped all Jotform data with Printavo fields.

- Click on Publish Zap.
4. Results:
- Zapier Tables

- Printavo
Conclusion:
This is how our developers at HikeBranding use this advanced integration process to streamline your workflow by connecting JotForm submissions with Zapier, facilitating the creation of records in Zapier Tables and seamlessly adding customers to Printavo. By leveraging these powerful tools, businesses can significantly reduce manual data entry, minimize errors and ensure that customer information remains consistently up-to-date across all platforms. Whether managing orders, client information or production details this automated workflow ensures a smooth and efficient operation, ultimately enhancing productivity and accuracy in your business processes.