Introduction:
The integration of JotForm with Keap through Zapier heralds a new era of streamlined user registration processes. By leveraging Zapier’s automation capabilities, this integration seamlessly converts form submissions into registered users within Keap’s CRM system. Our developers at HikeBranding can guide you on this. Join us as we uncover how this powerful synergy simplifies data management, enhances customer relationships, and drives organizational efficiency.
Seamless Form Submission:
SeamlessUsers can effortlessly fill out JotForm forms tailored to your organization’s needs, providing essential information for registration.
Automated Data Transfer:
Zapier automates the transfer of form data from JotForm to Keap.
Real-time Updates:
Real-time synchronization between JotForm and Keap.
Data Integrity:
Eliminate the risk of manual errors associated with manual data entry, ensuring data accuracy and integrity throughout the registration process.
Platforms:
We will use Customer Relationship Management (KEAP CRM), JotForm, and Zapier for this automation.
Steps:
In this Data Flow, when a form is submitted in JotForm then Zapier receives that form data and sends it to Keap CRM.
1) JotForm Setup:
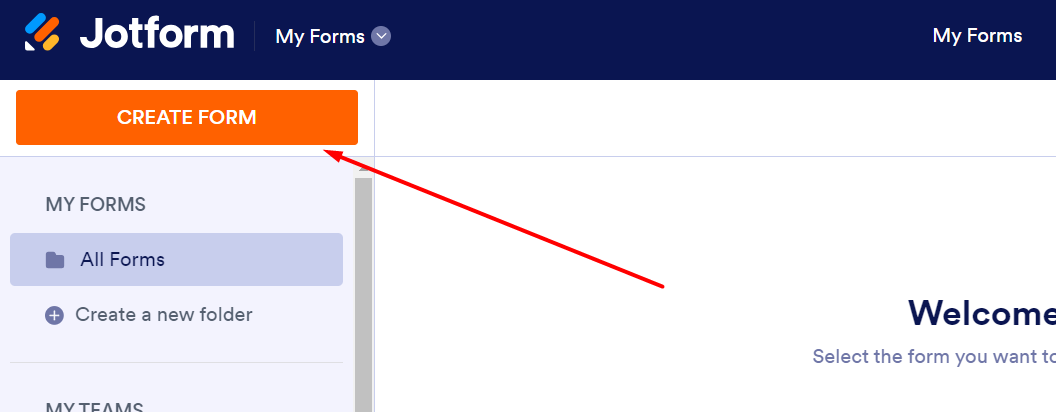
- Login to your JotForm Account.
- Click on the Create form button to design the form.
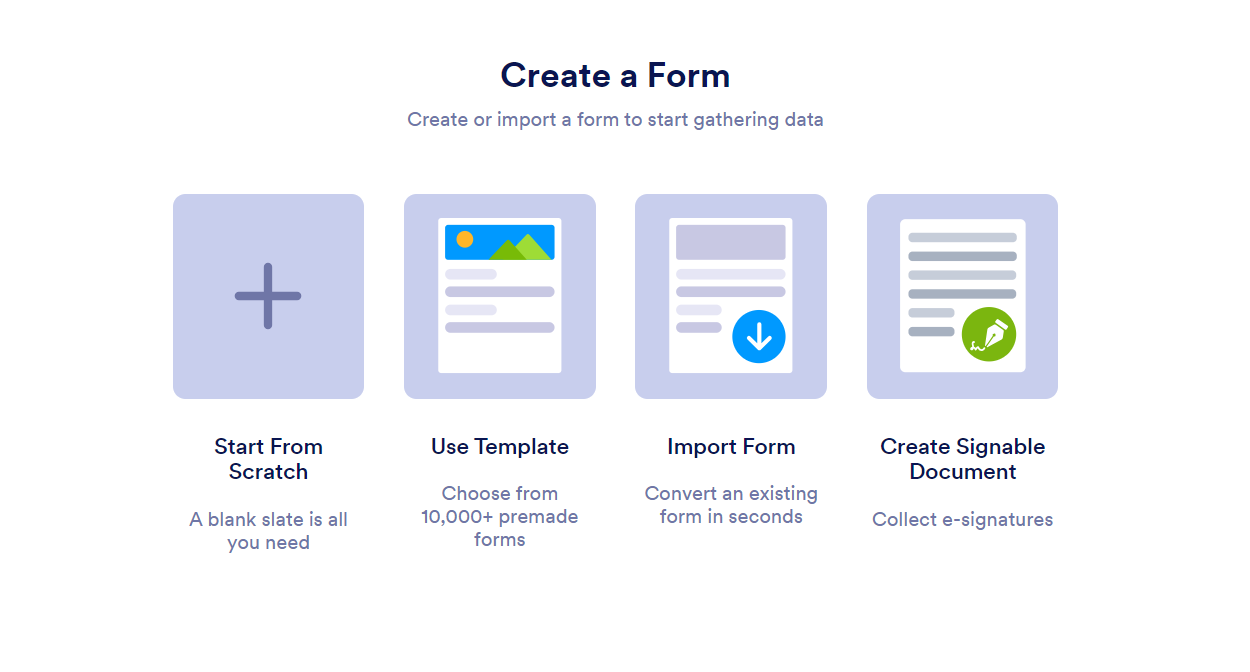
- Select the method to create form as per your requirement, i am using template for form creation.
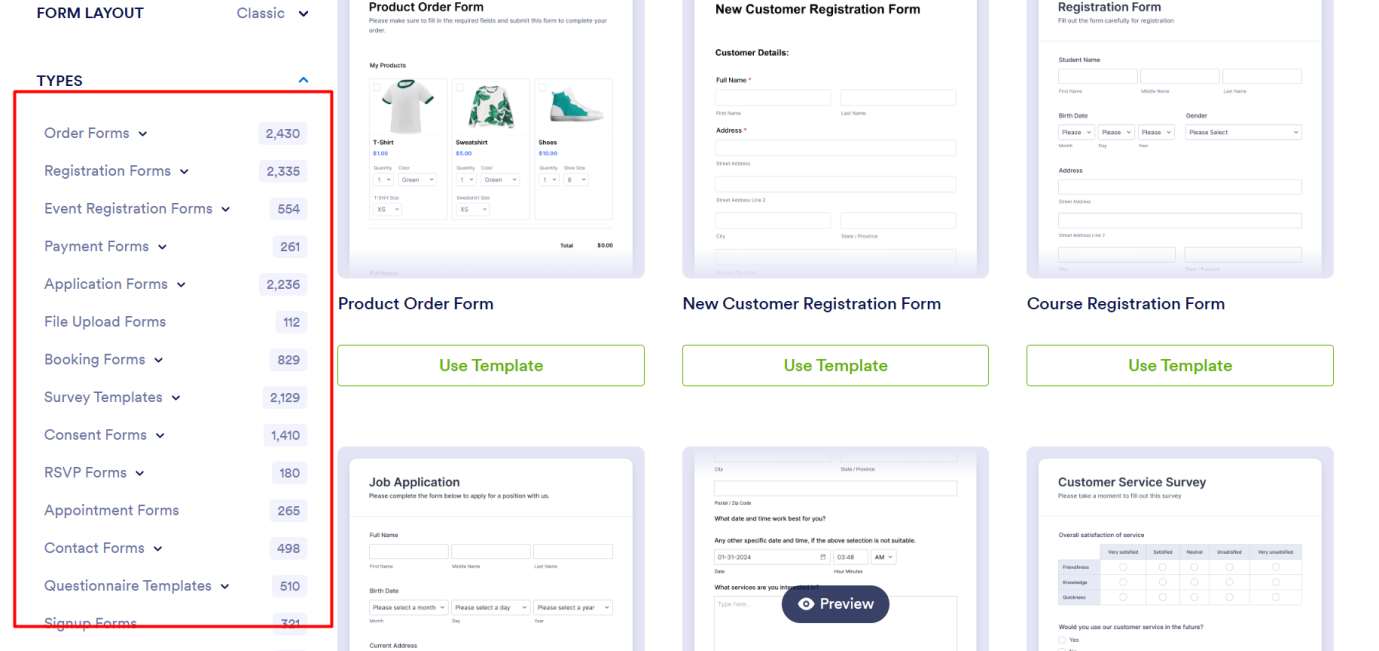
- Select the form types from the side panel then choose the design of the template.
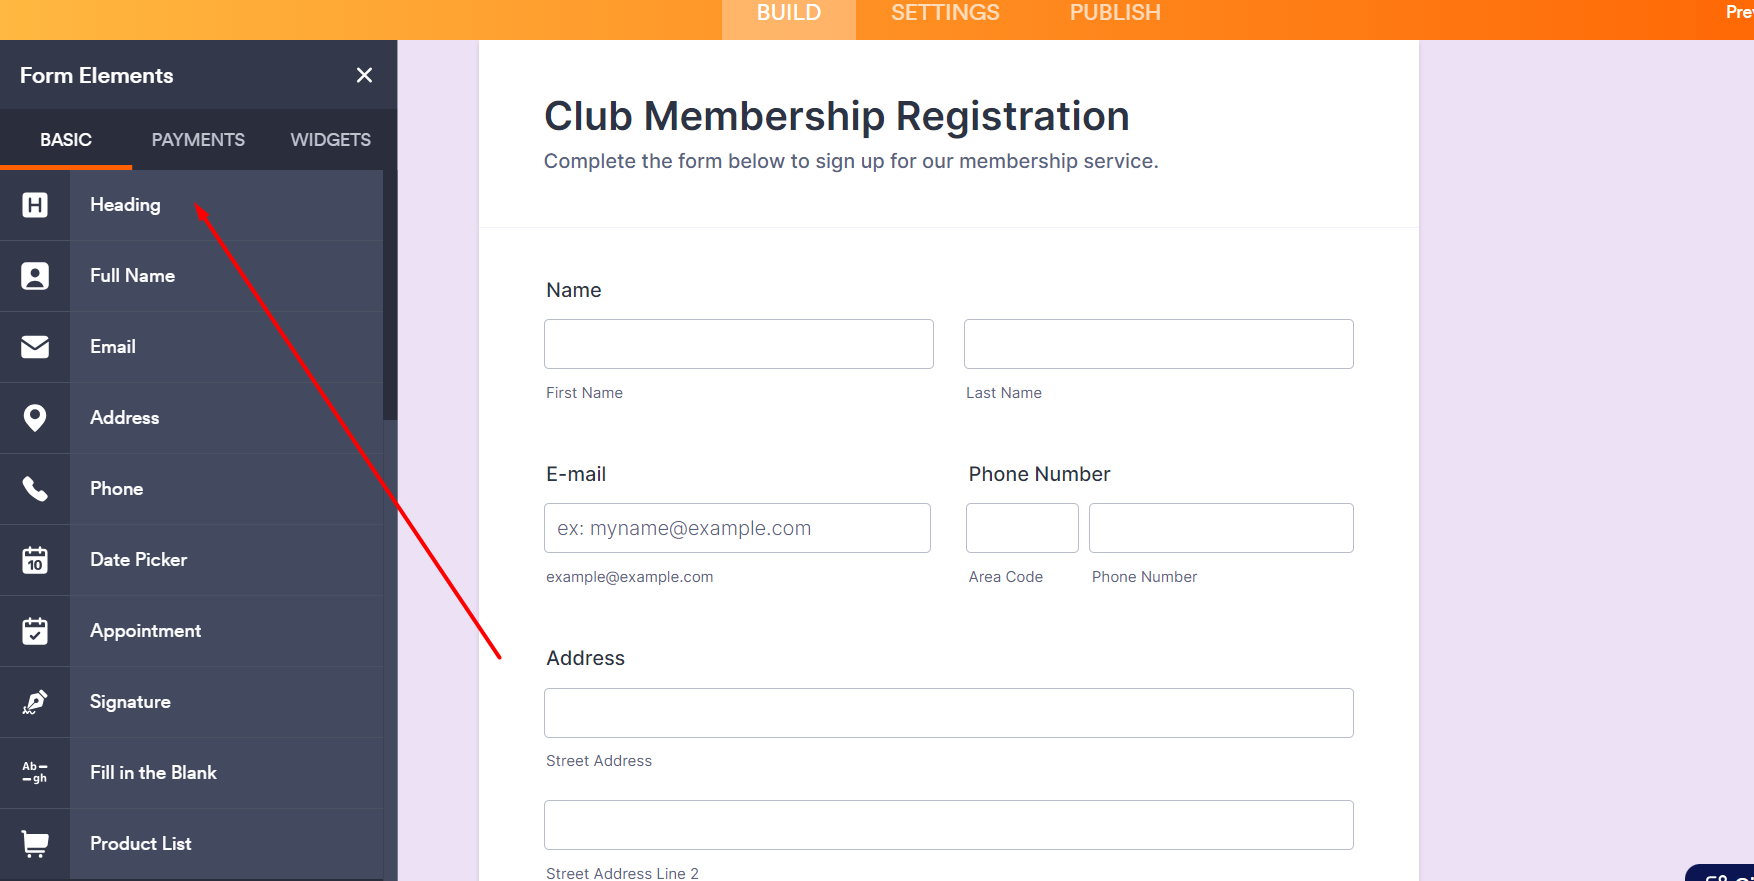
- BUILD TAB: Add input fields from Form Elements to add extra fields in registration form template
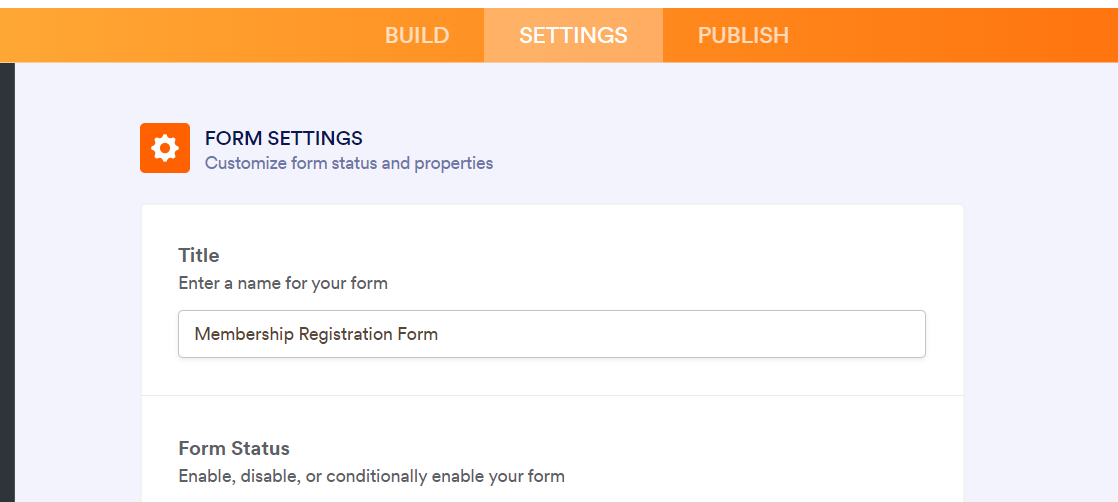
- SETTINGS TAB: Set the Title for Form and other details in settings.
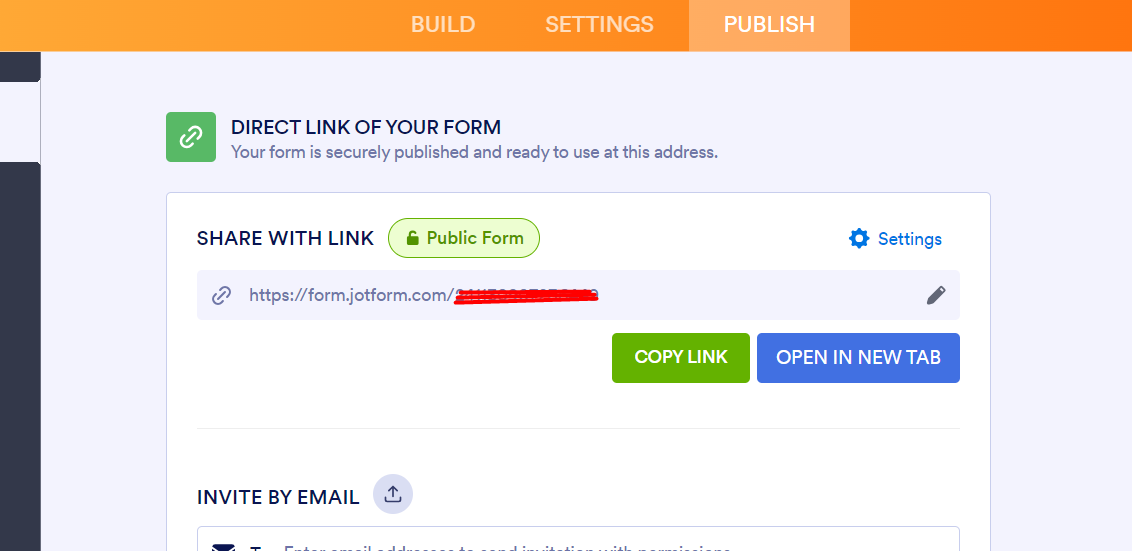
- PUBLISH TAB: Copy the form URL from Share with a link to view the form and also you can get an embedded link to the form to use on your website.
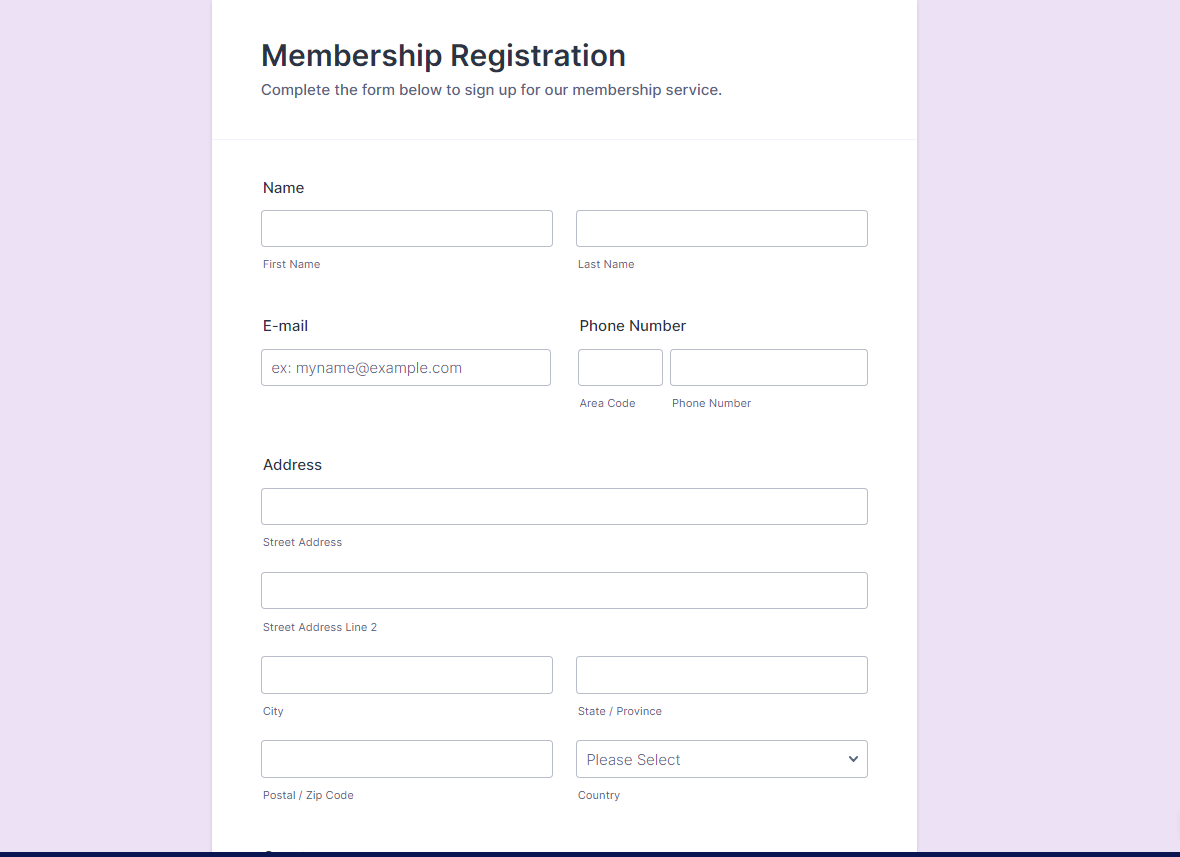
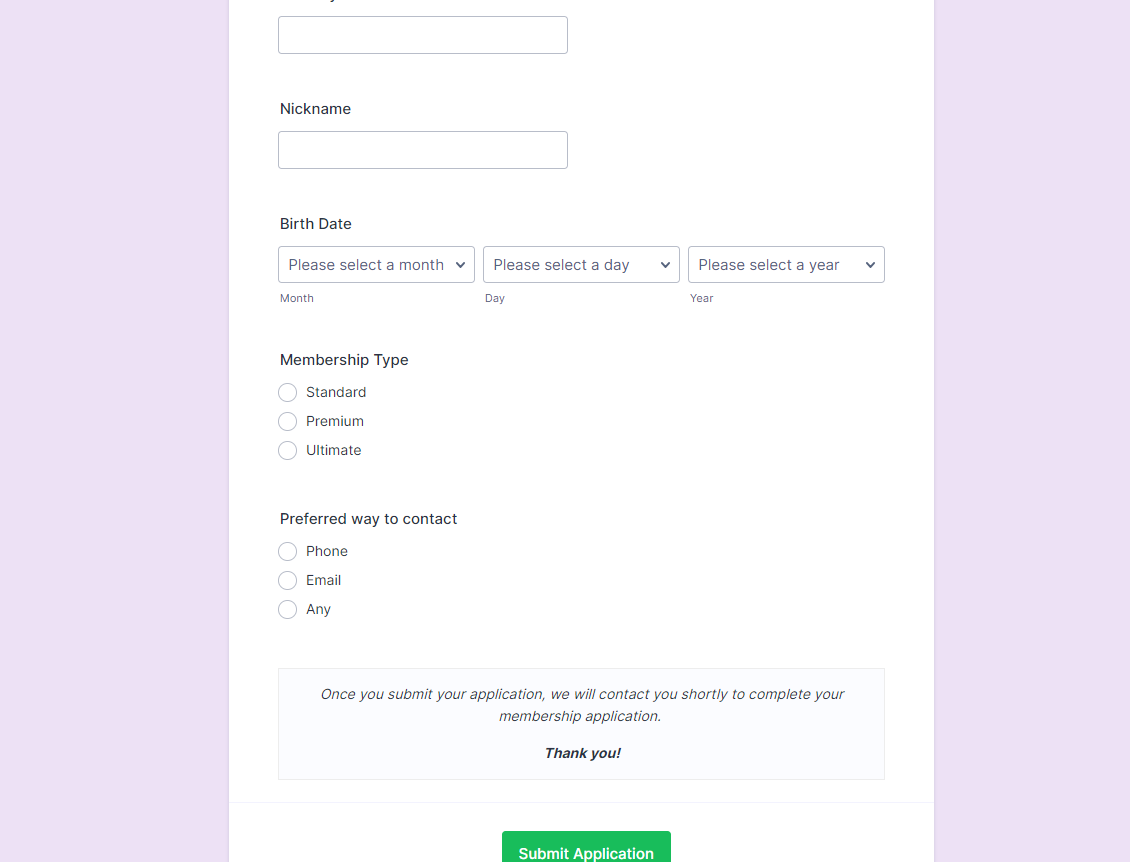
- View of Created Form which contains name, email, phone, address etc.
2) Keap Setup:
- Login to your Keap Account.
- Add Custom Fields Named: Membership Type and Preferred Contact.
3) Zapier Setup:
- Log in to your Zapier Account.
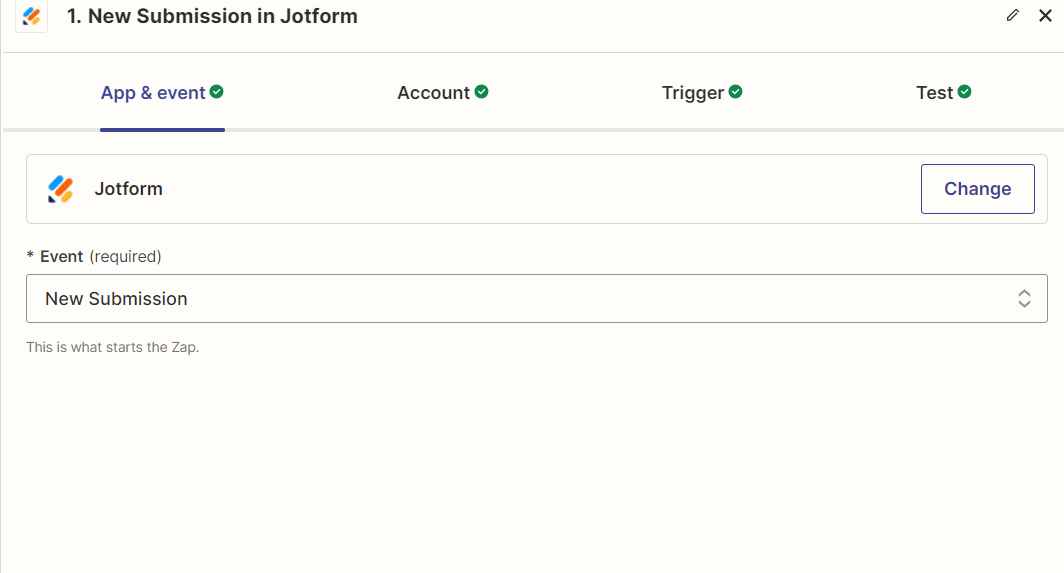
- Click on Create a Zap, and select Jotform as a trigger.
- Choose New Submission as an Event in Jotform.
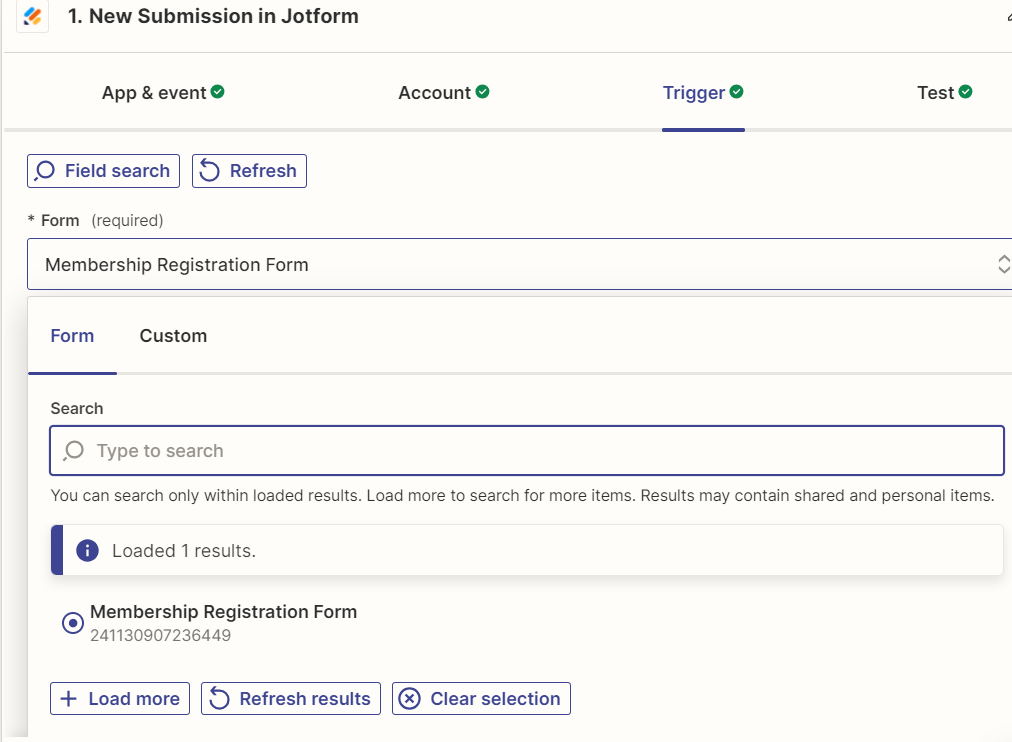
- Select the form name from Jotform.
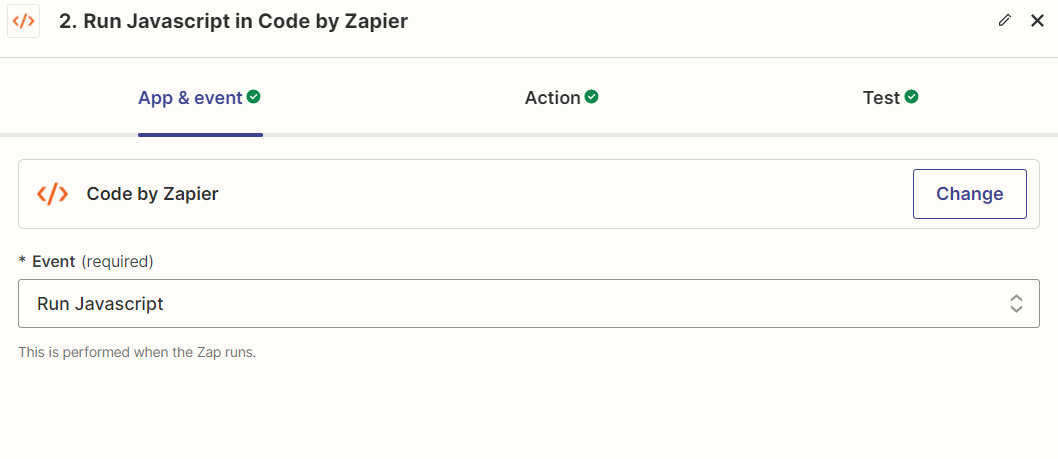
- Add code by Zapier as an Action.
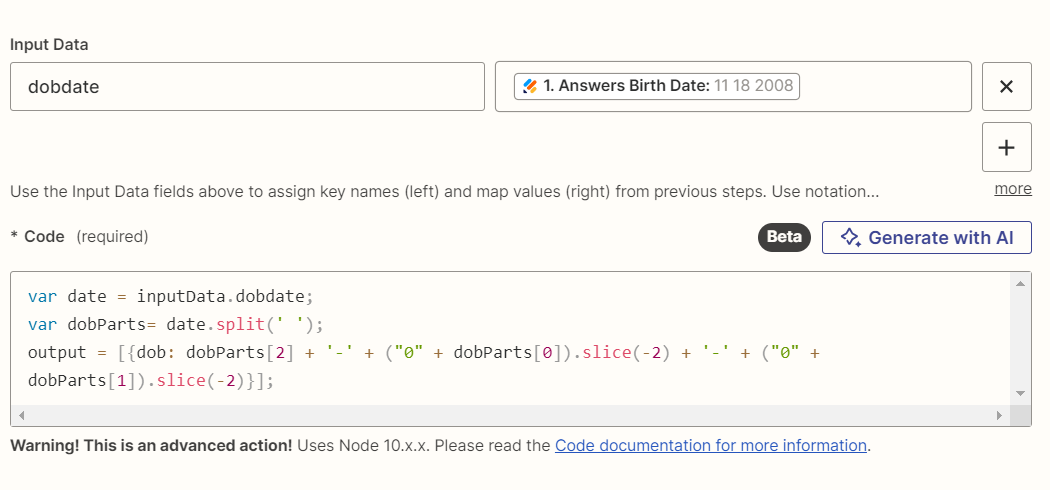
- Write a code to Convert date into required format.
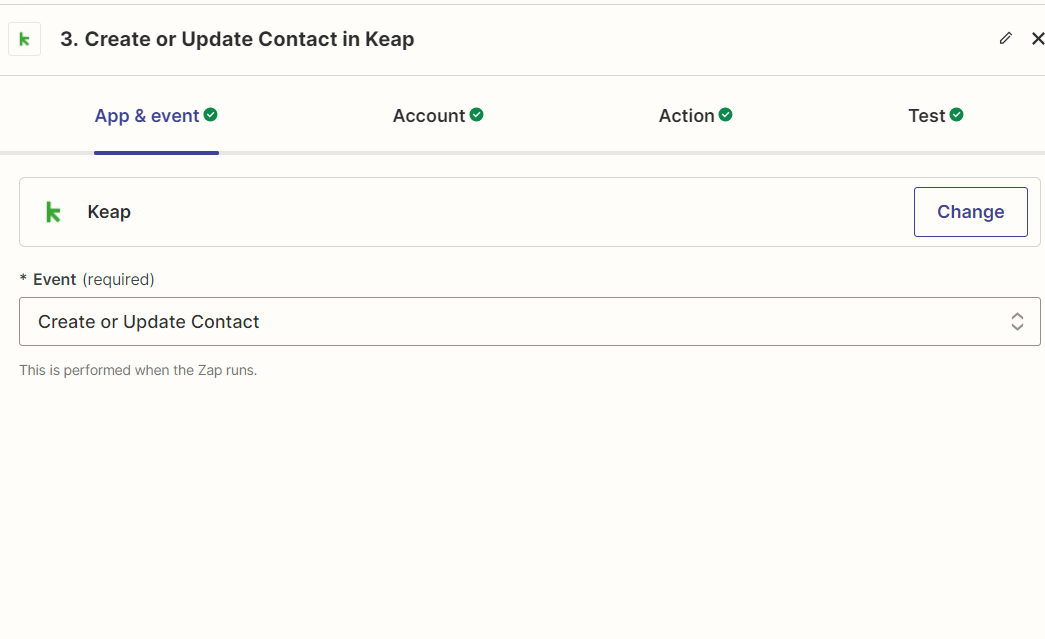
- Add Create or Update Contact of keap as an event
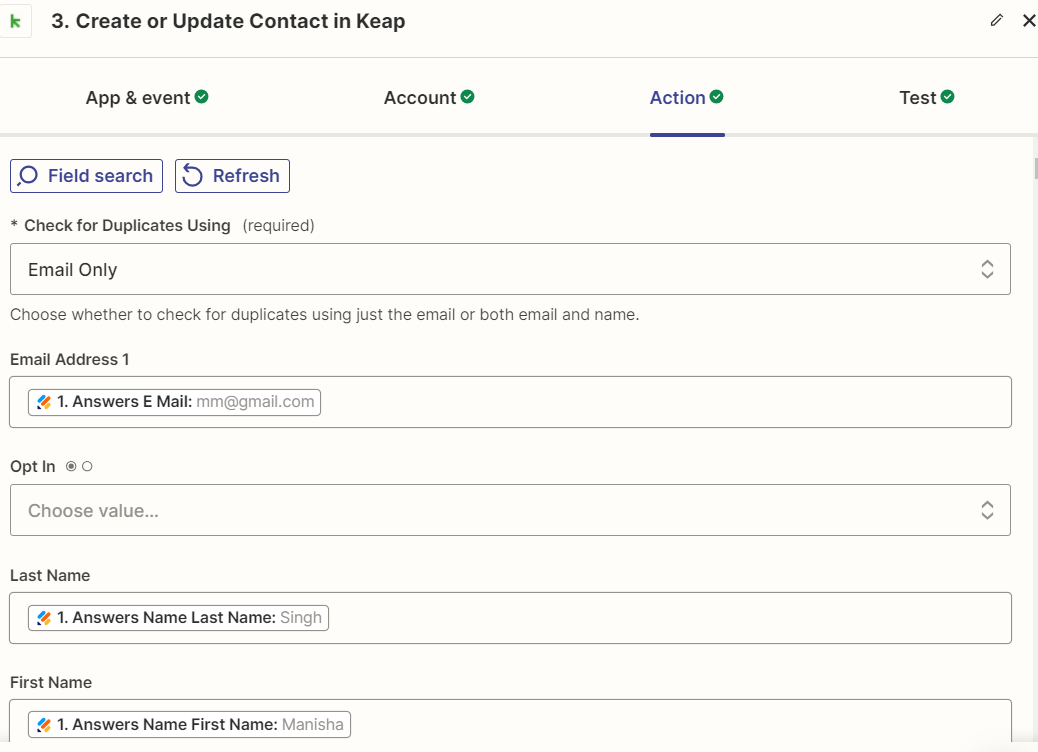
- Mapped all Jotform data with Keap fields. For eg. Answers E Mail with Email Address 1, Answers Name Last Name with Last Name etc.
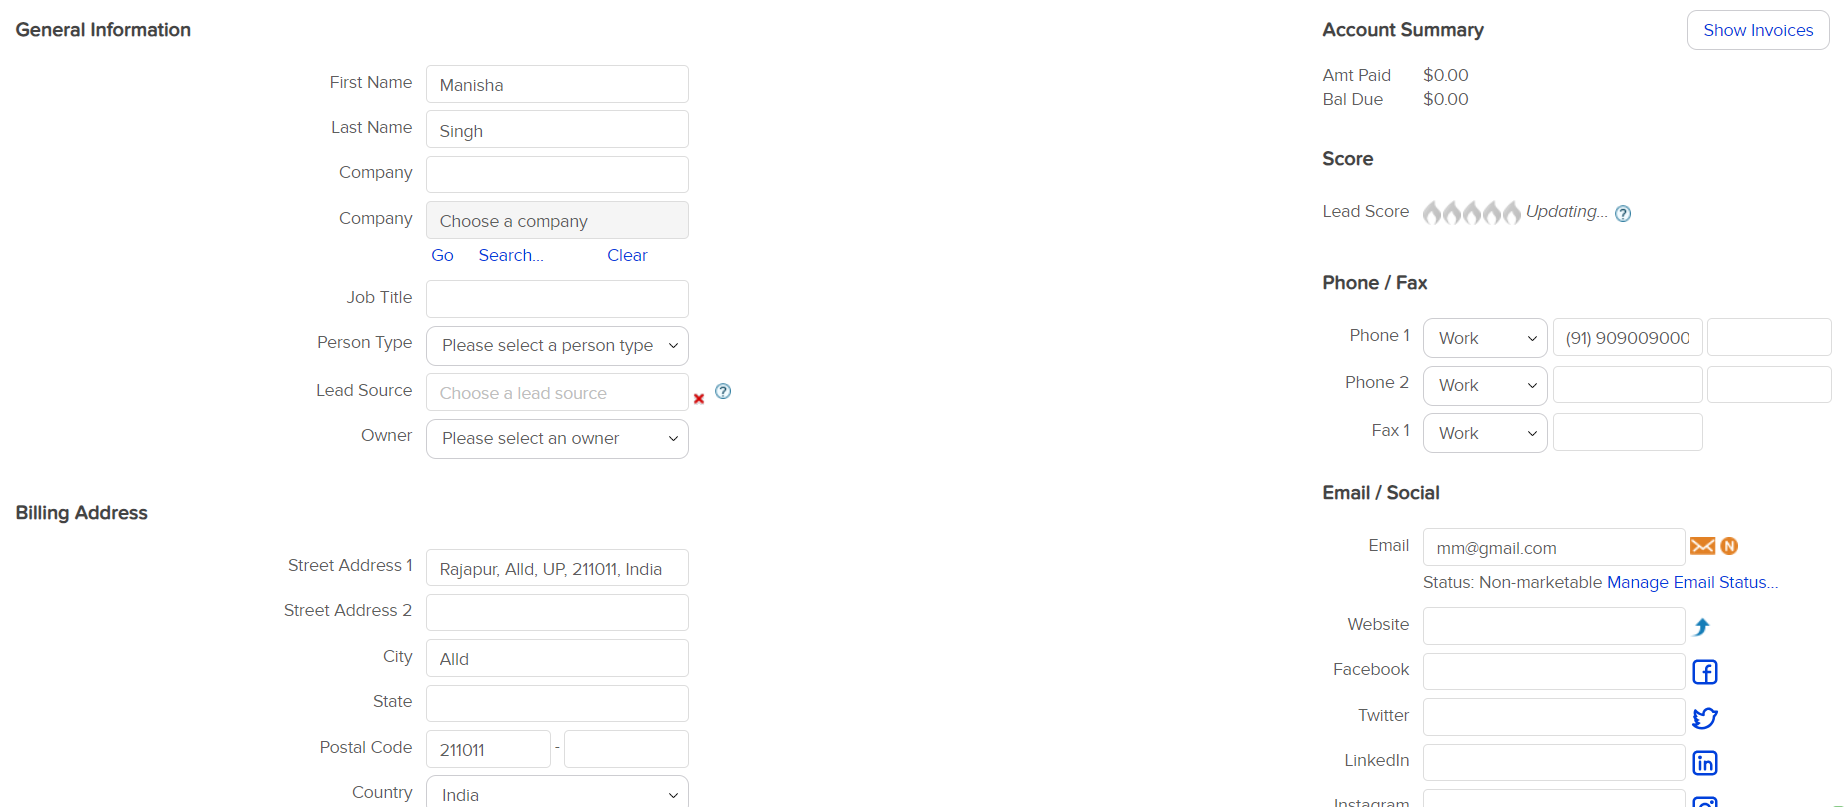
4) Results:
In Keap contact was created.

Conclusion:
In conclusion, the integration of JotForm with Keap through Zapier marks a significant advancement in streamlining user registration processes. By harnessing the automation capabilities of Zapier, this integration seamlessly translates form submissions into registered users within Keap’s CRM system. This powerful synergy not only simplifies data management but also strengthens customer relationships and enhances organizational efficiency. At HikeBranding, we have embraced this innovative solution that paves the way for a more effective and agile approach to managing user data.